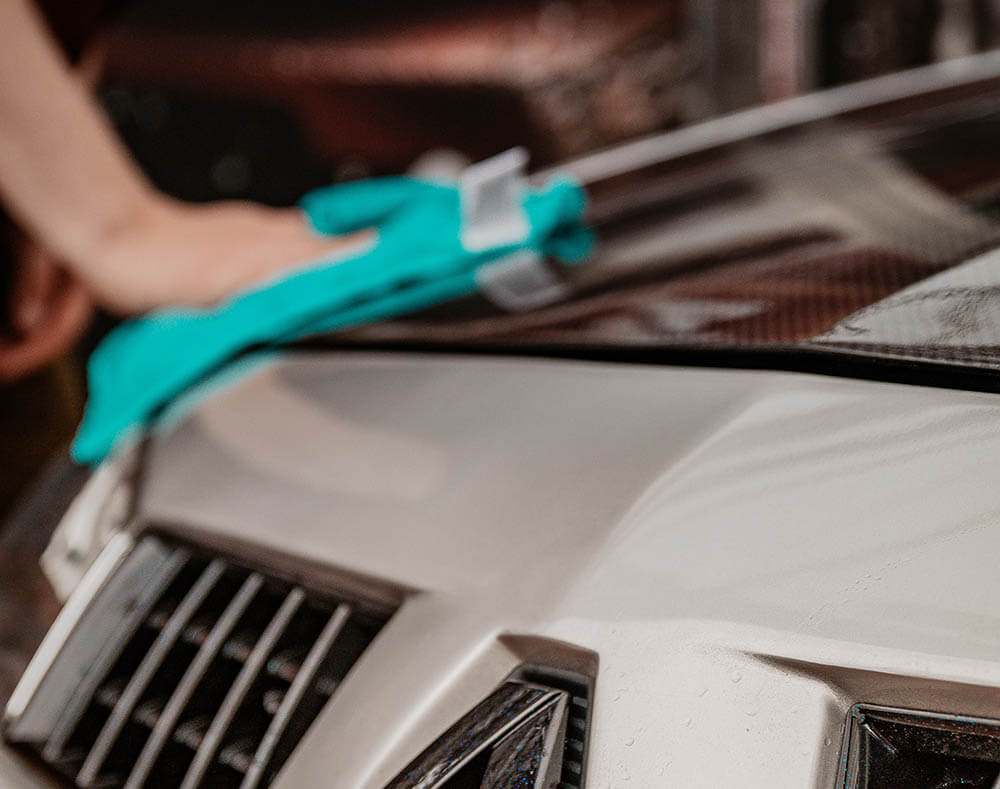
There’s nothing quite like getting your car back after it has been freshly polished and waxed, seeing the bodywork glint and sparkle like it’s brand new again. If you take pride in your motor, it’s a sight you never tire of.

There’s just one drawback, a professional polish can cost anything between £50 and £200. Not that there’s anything wrong with spending money on the upkeep of your car. But let’s face it, there are plenty of other things in life that have a claim on your wallet.
If you’re struggling to justify the cost of your next service, it’s worth knowing there is a cheaper alternative: Do it yourself.
You might well be thinking, but I’m not going to be able to do as good a job, I don’t have the right equipment, I don’t know the first thing about removing contaminants and defects from the paintwork. Or even worse – surely, I’m going to risk making a mess of things?
In reality, polishing a car doesn’t have to be difficult or expensive. You can pick up a rotary or dual action polishing machine like the ones your local body shop uses for about the same cost as a top-end valet and polish. Once you have it, you can do your own detailing for years to come, with just the cost of perishables like polishing pads and polish to worry about.
And if you really want to save money, you can do away with the machine and polish your car the old-fashioned way using nothing but elbow grease.
It’s worth remembering that a full polish isn’t something you want to be doing too regularly. Especially with a wheeling machine, the way that polishing heats up the top surface of the paint so it becomes slightly fluid and fills in defects can also lead to marking, most notably ‘swirling’ of the paint caused by the circular motion of the machine.
To protect your paintwork, you only need to do a full polish around once a year, waxing every couple of months in between to protect.
When it does come around to polishing time again, here’s how to go about it.
1. Preparing your car
It’s very important to give your car as thorough a wash as possible before you polish so there’s no dirt or other loose impurities left on it. If you don’t, you risk polishing dirt into the paintwork so it becomes embedded.
Start by rinsing your car with water from the top down. Using a hose will help to wash away any dirt on the surfaces more efficiently. Pay particular attention to the bottom of the car and the wheels, as this is where most dirt accumulates.
Wash your car by hand using automotive soap that doesn’t contain any polish or wax – you’re not trying to get your car to shine at this stage and these are harder to rinse off. Once you are done, rinse it down thoroughly to get all the detergent off.
2. Getting ready to polish
If it’s a sunny day, it’s a good idea to find somewhere shady after you’ve washed your car, as otherwise any remaining soap residue will quickly dry onto the paintwork and stop the eventual finish being as bright as it could be. Also, if possibly make sure you have plenty of space around your car and that it is free from clutter. Polishing with a machine can get messy.
Choose your polishing pads and polish / compound according to the colour of your car. With white and lighter colour paints, you can use courser / heavier pads and cutting compound. But the darker the paint, the more prone it is to swirling, so you need to choose a softer / lighter grade of pad and cutting polish.
3. Polishing your car
When it comes to the actual polishing, you can apply the cutting polish or compound either to the polishing pad or directly to the panel you are working on. Focus on one panel at a time, don’t overdo it with the compound, and make sure you keep the polishing pads moist. The friction between the pad and your car will generate heat, so keep checking your pad hasn’t dried up. If it looks dry, stop: Carrying on will burn the clear coat on the outer surface of the paintwork. Take the pad off the wheeler, dip it in water, squeeze out the excess and carry on.
The key to getting a smooth, clean finish is to apply even pressure and keep the surface of the polisher parallel to the surface of the car. This will prevent swirling. Work back and forth over a single panel. As the outer paint surface heats up, you should be able to see scratches smoothed away. Once there is no more compound and water left on the panel, you can move to the next one.
4. Post polishing
Once you have polished every panel, wash and rinse your car again, making sure all polish or compound has been thoroughly removed. Once the paintwork is completely dry, you can then wax your car to protect the brand new shiny paintwork.
Click here to view all the things you need to get started with DIY pro-quality polishing.


