With my children back at school, I took a short trip to the south coast earlier this week. I was armed with my new 10-stop filter for my camera and also my DJI Phantom drone. Depending on the weather conditions, I was either going to do some long-exposure photography of cloud formations using the filter or I was going to send up the drone to do some aerial photography of the coastal landscape.
Alas, with no sun in the sky whatsoever, using the filter was futile and so I sent up the drone. This, however, presented its own challenges. In this drone photography tutorial, I’ll explain why I chose this location, what challenges I faced and how I did my best to overcome them.
Challenge 1: Location
You should always be careful where you fly a drone, especially since those incidents at Gatwick and Heathrow airports. Under UK law, you can’t fly within 50 metres of a building so it was important for me to go somewhere with wide open space. Unless you have permission from the landowner, the land must also be public.
I thought a beach would work well and plumped for Camber Sands on the East Sussex coast. Being January and with temperatures hovering around 6˚c, I gambled it would be quiet. When I arrived, there were maybe 10 people walking along the beach for as far as the eye could see. It was perfect.
I checked online at the NoFlyDrones website to ensure there were no flight restrictions on the beach. Thankfully there weren’t.
I also checked the tide times. The tide was going to be out when I arrived. This was even better as it meant I was able to walk further out away from the coast so there was less chance of bothering people.
Challenge 2: The weather conditions (Thank you Photoshop!)
According to the weather forecast, it was supposed to be ‘mostly cloudy’ on the day I took these four images. I took this to mean there would be occasional breaks in the cloud.
Far from it. The cloud was thick and relatively low lying making everything look a bit grey. This wasn’t ideal but I had committed to this project so I had no choice but to press ahead.
The photographs looked very impressive on my tablet when I took them. When I opened them up on a full-sized monitor later on, they looked a little on the dark side and lacked colour. There was only one thing to do: Resort to Photoshop!
Challenge 3: The sea was very calm
Some things are very obvious, but you don’t notice them until much later on. I have to award myself the You Missed Something Very Obvious Prize. What did I miss? The fact the sea was very calm.
As a result, the sea blends in with the sandy beach. It would have been nice to have had some crashing waves in the image to provide some drama and contrast.
There wasn’t much I could do about this other than to embrace the tranquil setting. This is why I decided to convert a couple of the images to black and white. If nature wasn’t going to provide me with anything dramatic to photograph, then I was going to remove the colour from the pics and see what the result was.
Overcoming the challenges
I chose two images, one looking east and one looking west. I did two edits of each, and that’s what you see published here. Here’s what I did to each image.
Image one: Looking east
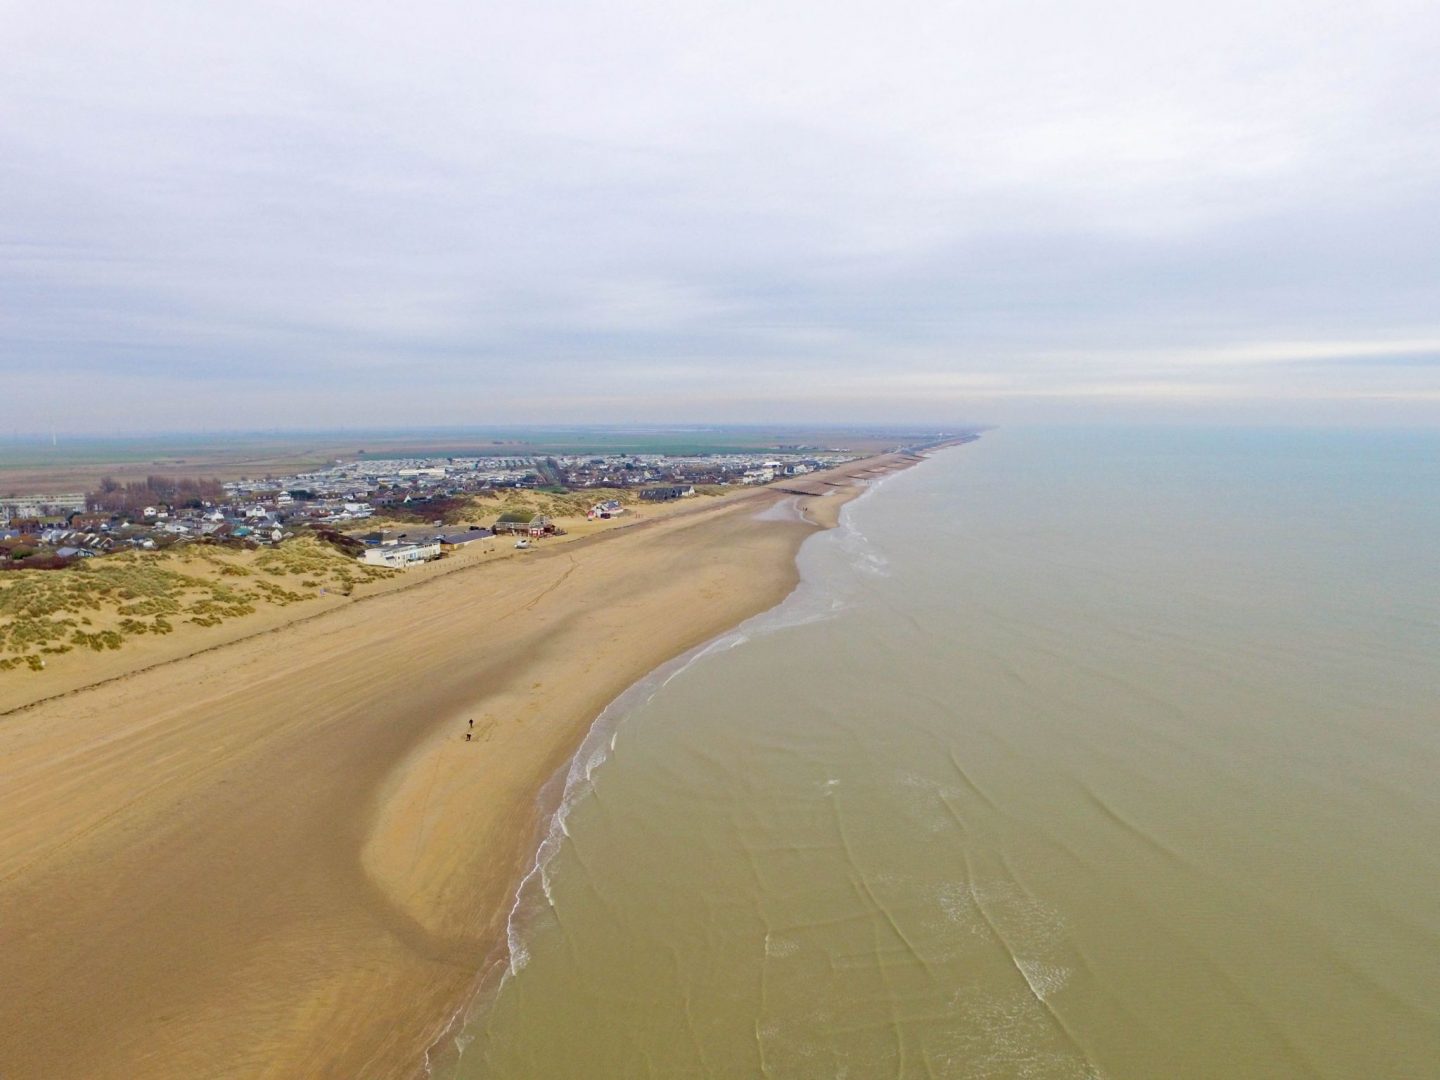
This image was taken from a height of about 50 metres. I cropped the image to remove some of the sea. This was to focus on the coastline as opposed to an empty expanse of calm water. I increased the brightness slightly. I also increased the vibrance and the highlights a little. The image at the top of this post was the result.
Image two: Looking east in black and white
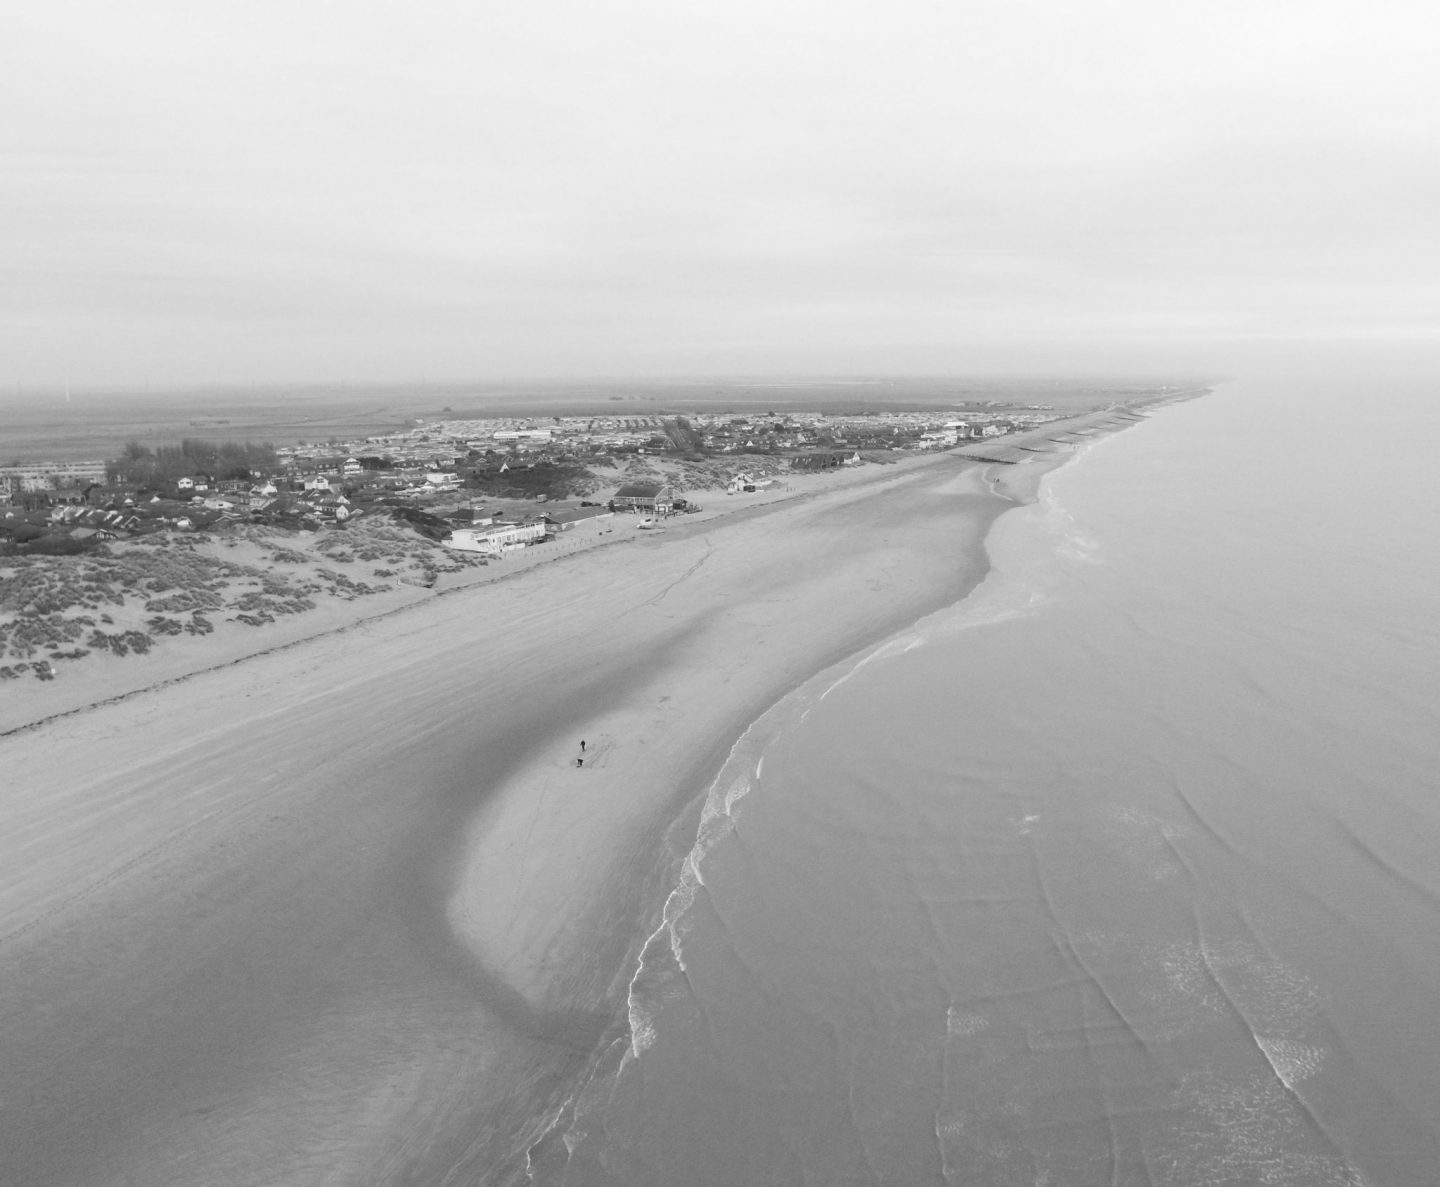
As mentioned above, as the sea was calm and the lighting wasn’t the best, I thought I would embrace the conditions. I simply desaturated the picture, which means I removed all colour. I also increased the contrast a little bit so as to bring out the dark colours a little more.
Image three: The wildcard picture looking west
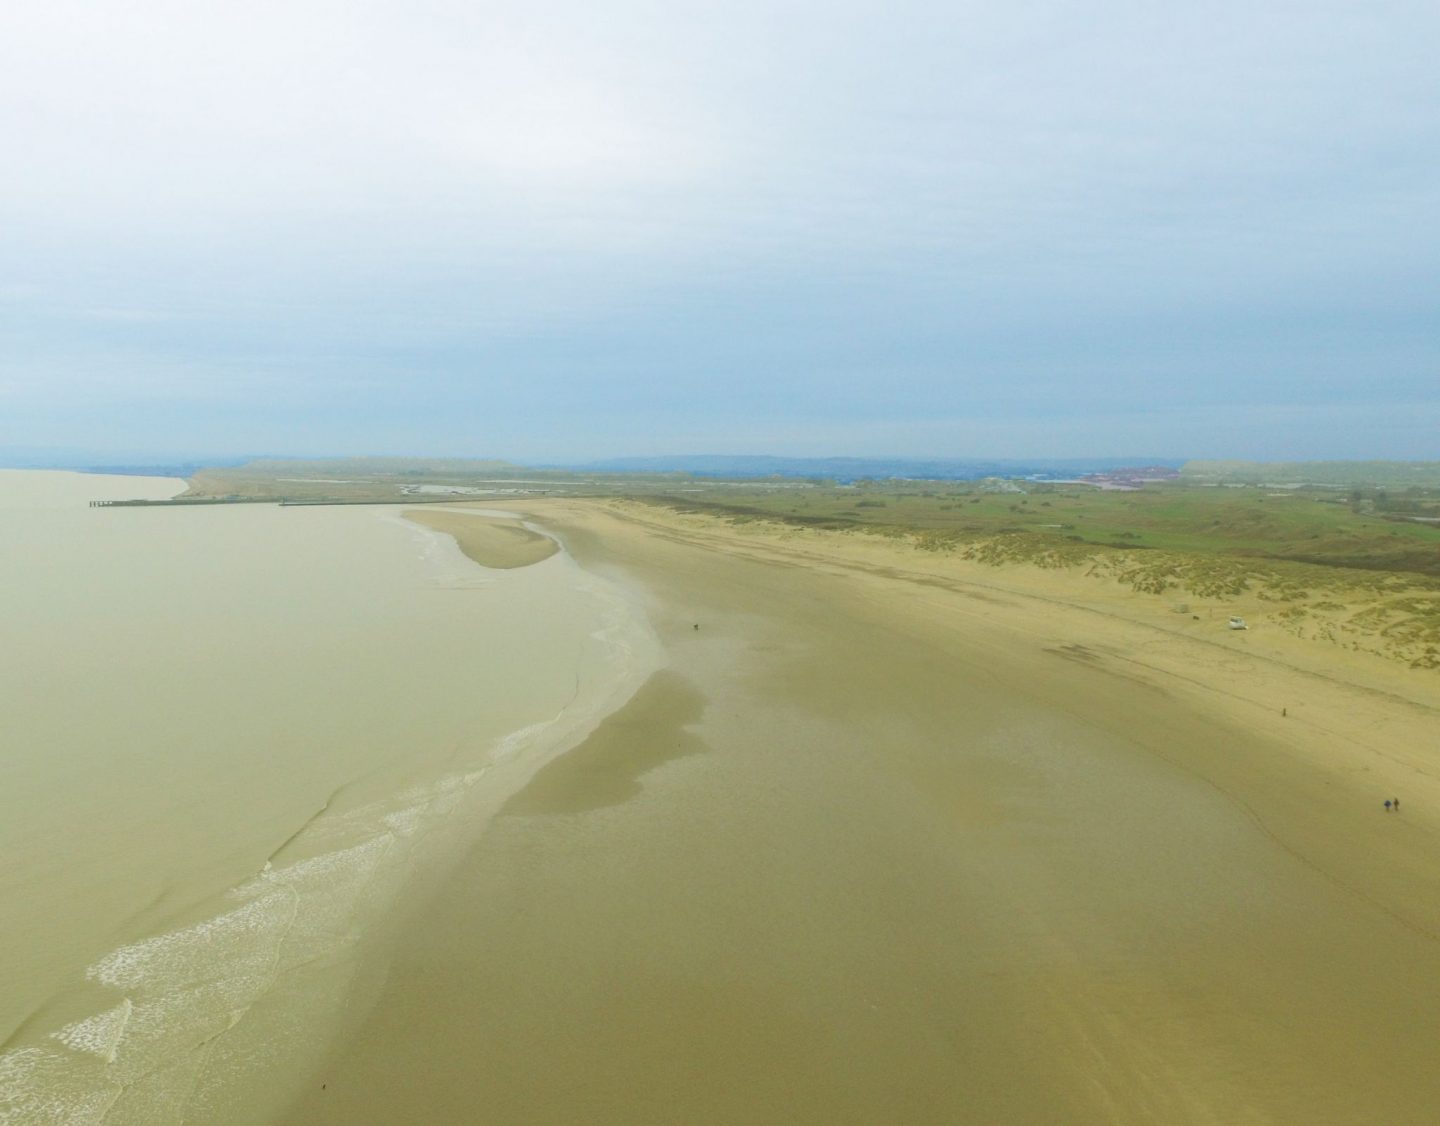
This shot was taken from a height of 100 metres looking west in the direction of Brighton. Appreciating there was a lack of drama in the picture, I used the lasso tool and selected the sky. Using the colour balance tool, I increased the cyan and blue colours in the selected area.
I then repeated the process, this time selecting the land and sea. I played with a couple of different options but eventually settled on increasing the green shades of colour.
I’m not hugely confident playing with the colour balance. It’s something I do rarely. I won’t tell you the result is perfect, but it has added a little more dynamism to the shot.
Image four: Looking west in black and white and using a warming filter
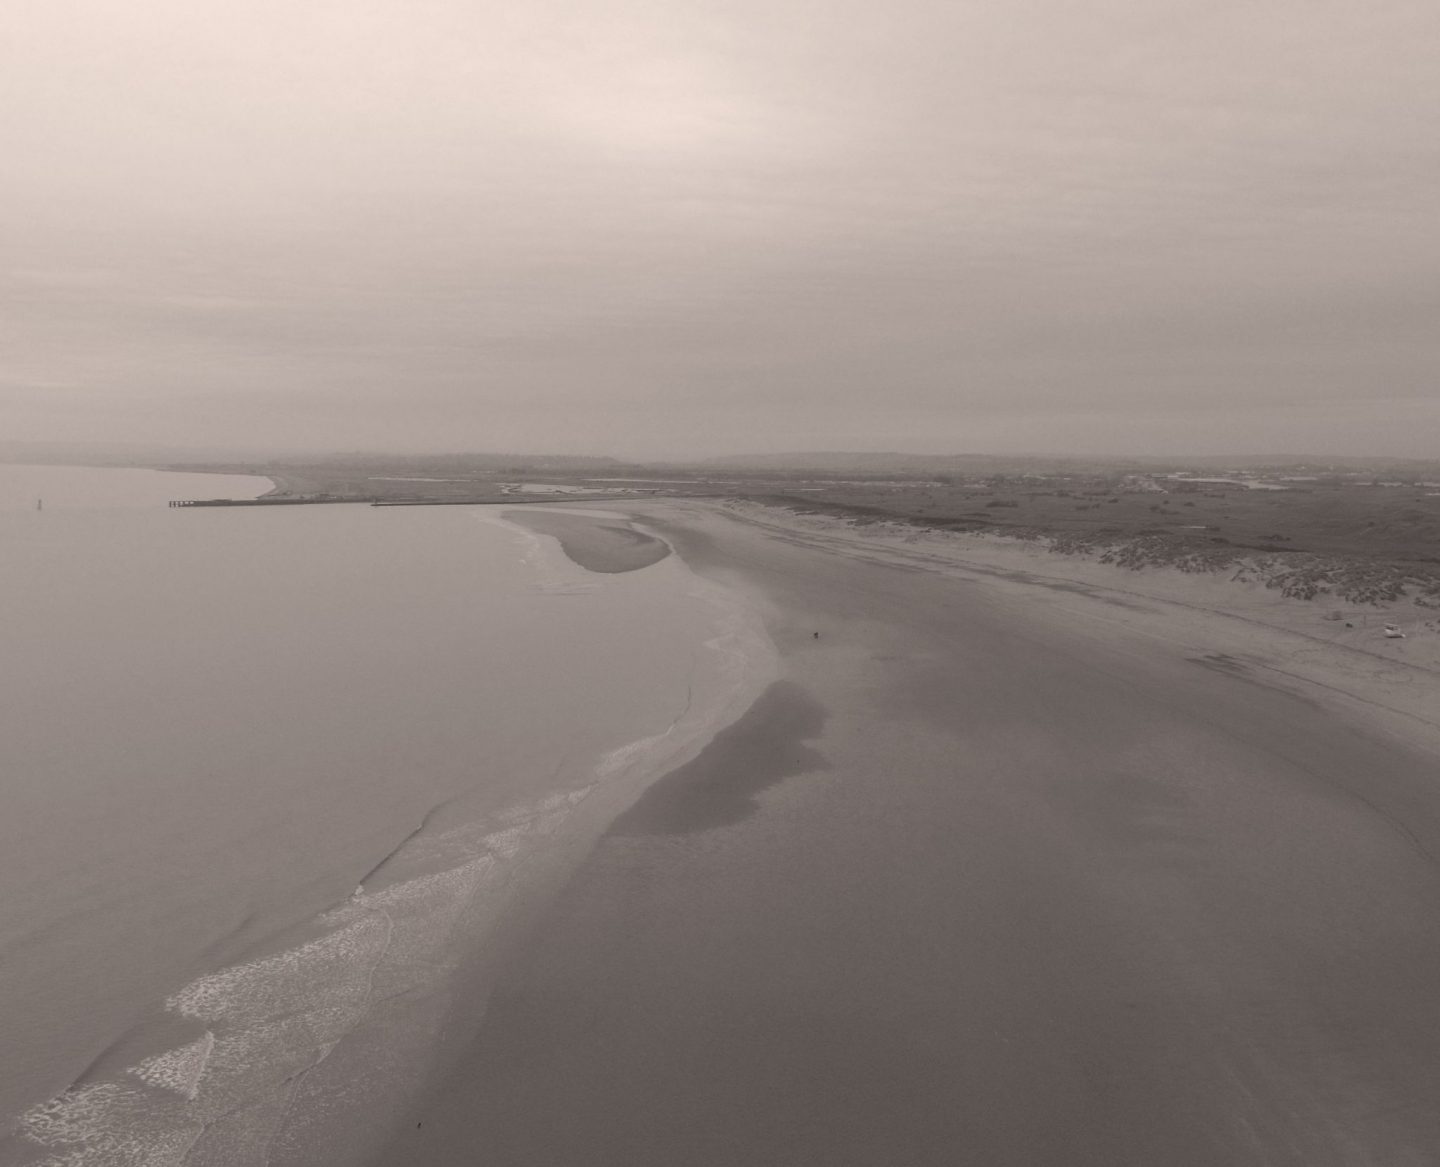
Personally, this is my favourite picture. I think there’s a great balance between land, sea and sky and there are very few buildings or other man-made objects in the image.
I took an unedited version of my wildcard picture and desaturated it. By accident, I hit the filter command in the menu bar. This wasn’t something I was going to do as I’m not a huge fan of the filters that come as standard with Photoshop.
With various filter options staring me in the face, I thought “why not try it?” I tried a warming filter and really liked the result. It adds a sepia effect to the image and makes it look a bit like a vintage shot.
Unedited images for comparison
I felt it would be useful to provide unedited versions of these pictures. The first picture is an unedited version of image four.
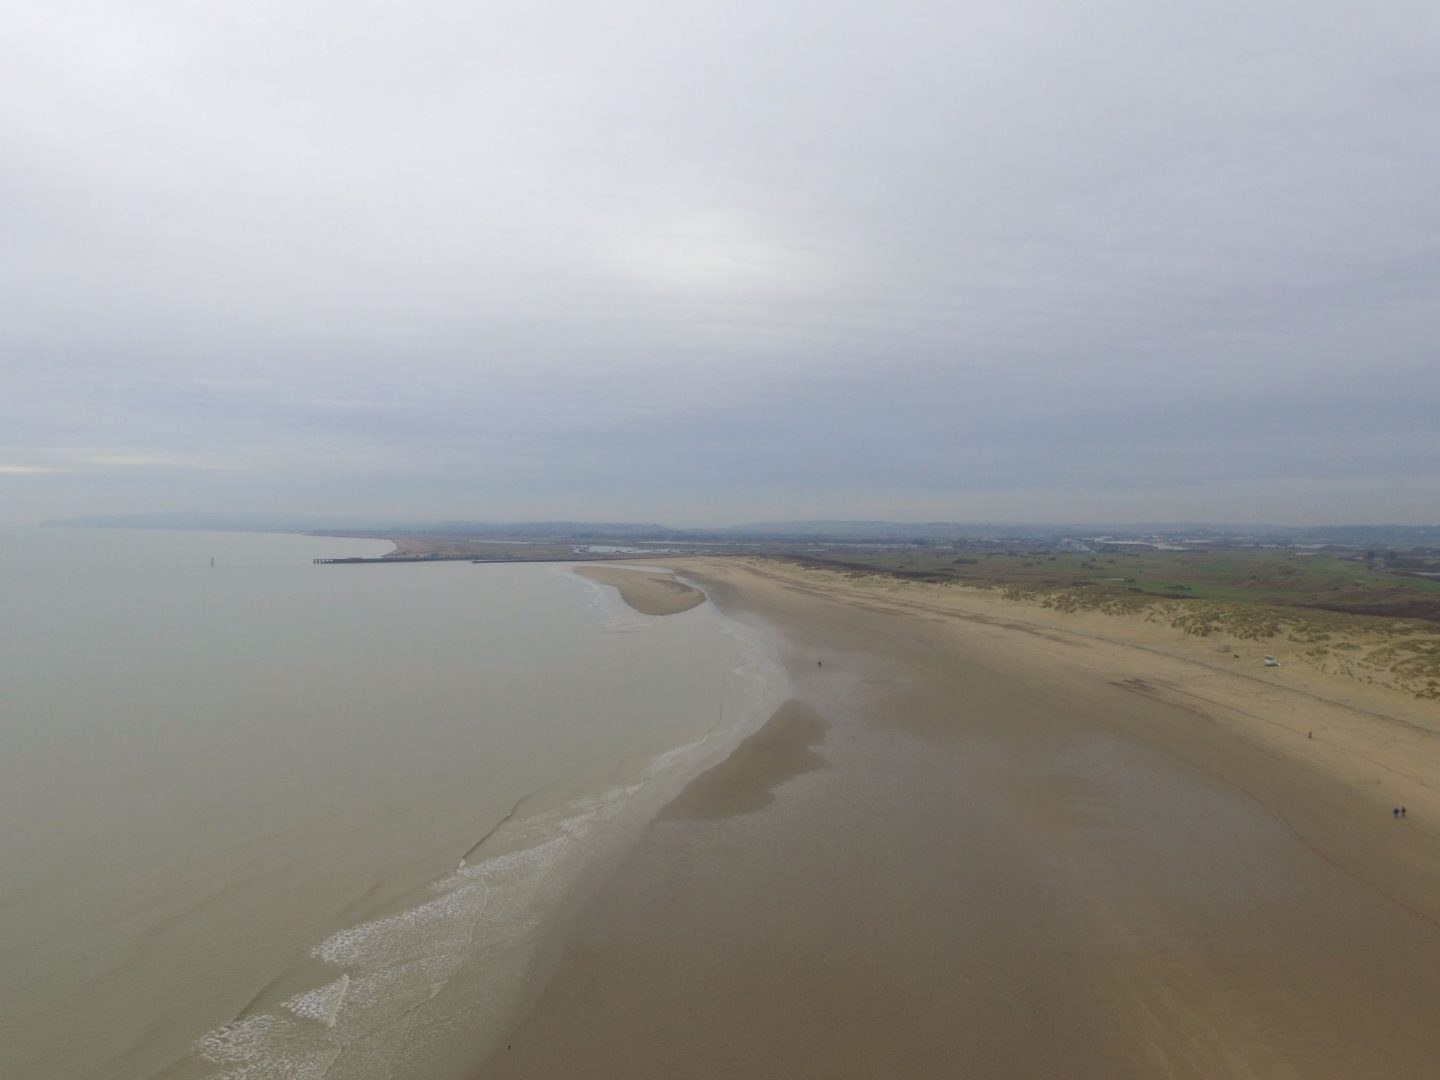
The image below gives you a good idea what image one looked like before I edited it. Unfortunately, I accidentally deleted the original but this picture is almost identical.
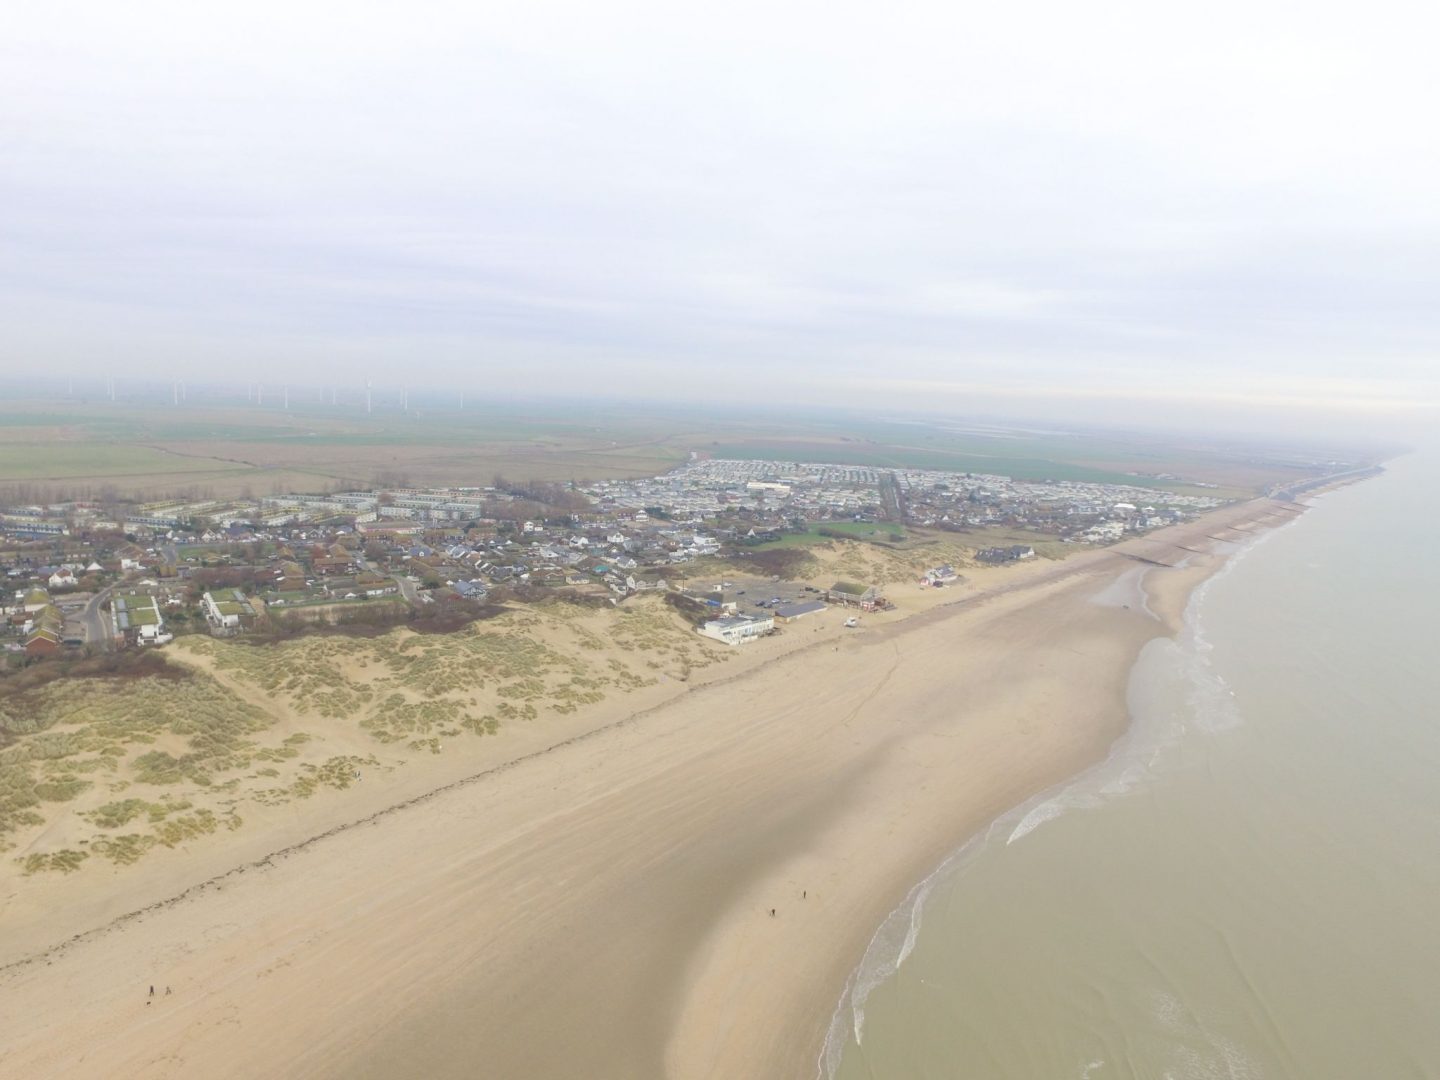
A photographic challenge
All things considered, I have to concede this was quite a photographic challenge. It’s all very well having nice equipment like a drone, but if the weather and lighting conditions are against you, you will have to work that bit harder to produce good images.
I have one or two other ideas for using my drone. Don’t leave it too long before you come back to the blog as I shall no doubt try them out soon. I’ve also had a few ideas for putting that 10-stop filter to use so you can expect some imagery on the blog soon using that filter.
I’d be delighted to know what you think of these images. Please do leave a comment below with your thoughts or if you have any questions, please ask and I will do my best to answer.



9 thoughts on “Drone photography tutorial”
Blimey, drone photography seems complicated! You’ve done a great job of editing your first image. It looks so different. The B&W ones look very peaceful. I’m sure you’re going to have lots of fun with your drone this year. Can’t wait to see more.
You can expect a few more images Tara! Don’t worry though, I have plans for the DSLR camera as well!
My brother loves his drone, he takes photographs of the local area and puts them on a history site on Facebook for the area so people who have moved away can see what it’s like now. I never realised how complicated it all is though. My brother was a photographer for a long time before he got his drone but he spends more and more time with it now he is retired. Sorry, I’m rambling. I love your edited photos, enhancing the colours really does make a difference in image 3, and I love the warming filter you put on the black and white image 4.
No not ramblign at all! Drones are magnificent so long as they are used sensibly and responsibly. I am glad you liked the warming filter. it did a lot to improve that image I felt.
nice article tara, keep up the good work 😉
i meanJohn !! sorry by mistake 🙂
hah, that made me laugh! Thakns for stopping by and commenting.
Great work, it seems drone photography is very difficult task.
All the best things on the drone photography tutorial. Such articles are not only knowledge enhancers but also very interesting to read and to learn to compare from. I loved reading this article, will visit again in the future to read more.I must say this, if you get time can visit Blueprintstudios.co.nz for ideas on this topic.