As you may be aware, we’ve just had a new kitchen installed in our house. We’ve done away with a horrible galley kitchen and installed an open-plan kitchen diner, which is much more suitable for modern, family life.
One of the biggest changes was to the flooring. We removed old lino and carpet flooring and replaced it with a wood laminate from Wickes (Madera light hickory, to be preceise).
In this previous blog post, I explained why we made that choice. Essentially, however, we wanted something stylish but hard wearing.
We do, after all, have two young children. The floor must not only look good, but tolerate wheeled toys, muddy shoes, spilled drinks etc.
In this post, I wanted to write a bit more about the instillation process. All things considered, I have to say the floor was put in place at incredible speed and there didn’t seem to be any complications whatsoever. I have made a short video detailing the installation process. Please do click on the link below if you’d like to watch the vlog, or scroll down if you’re prefer to read about it.
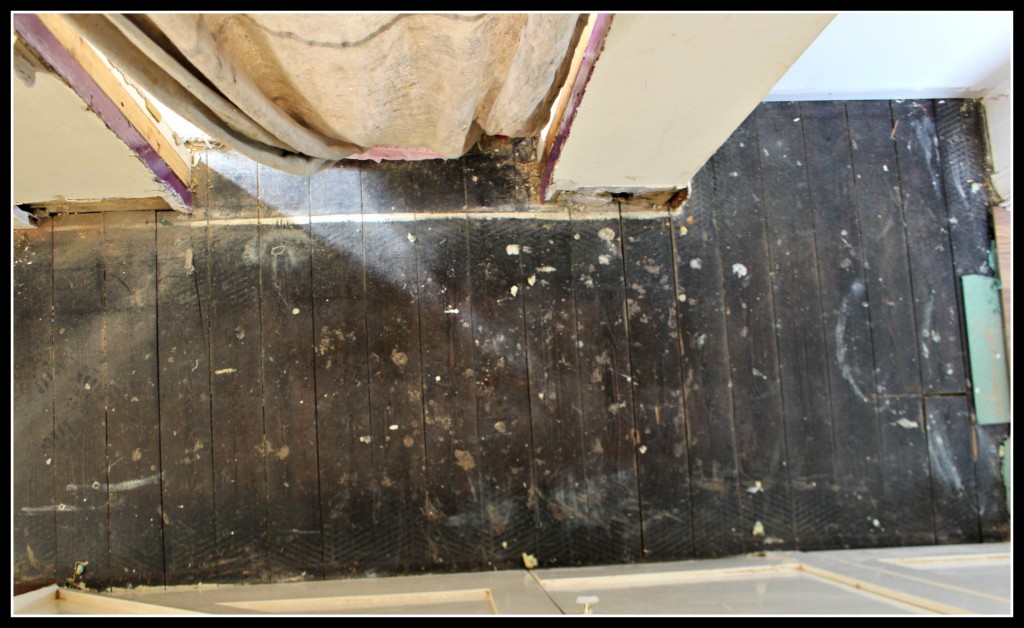
Preparation
Preparation was relatively simple. All the old floor had to be ripped up. The floor had to be swept, carpet grippers removed and in one or two places, holes had to be filled. Once bare, the underlay could be put down.
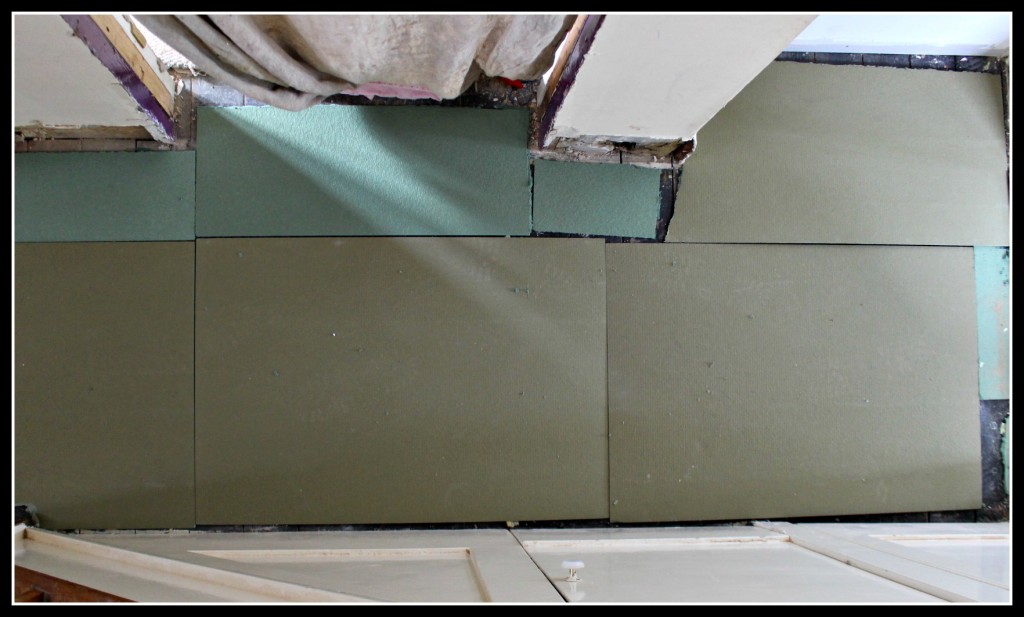
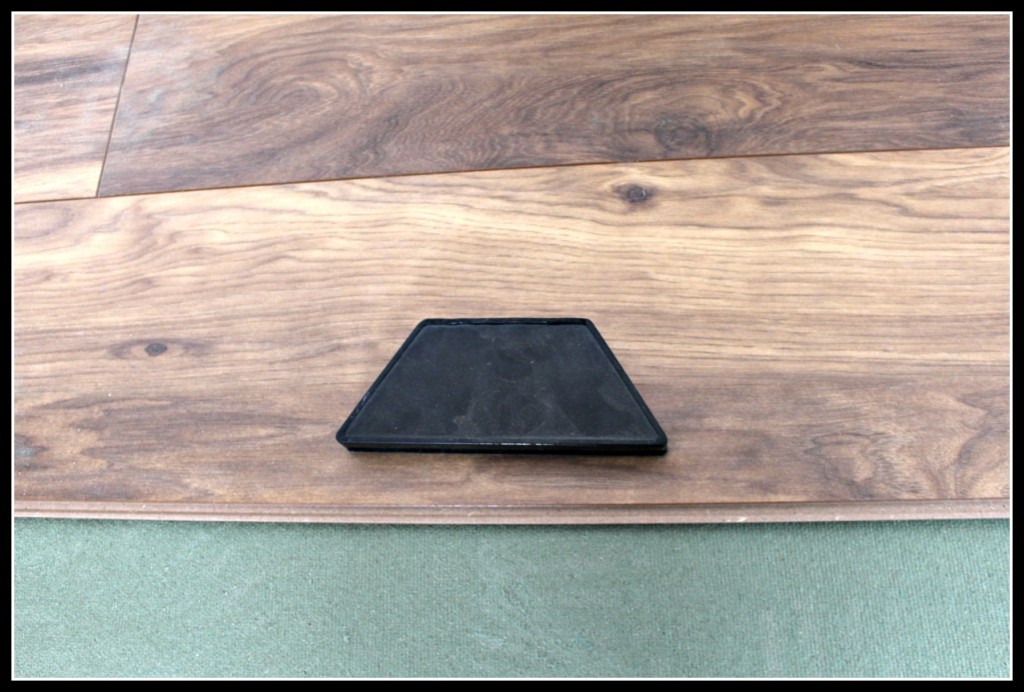
Underlay
Pulling up the old floor exposed a mix of materials that would provide a base for our new flooring; concrete, floorboards, chipboard and an old hearth. This influenced the choice of underlay. We had to use fibreboard (also from Wickes). We were going to use a simple foam underlay but this would not have been up to the job.
The fibreboard was incredibly easy to use. You simply lay it on the floor wherever the wood laminate is to be placed. You may have to cut it to size / shape but there are no nails, fixings or anything. You just put it on the floor.
Installing the laminate itself
Now the real work begins! The laminate itself is very easy to put in place. I confess, our builders did this part of the job but I watched closely. As someone enthusiastic about DIY, I’m pretty sure I could have done it myself.
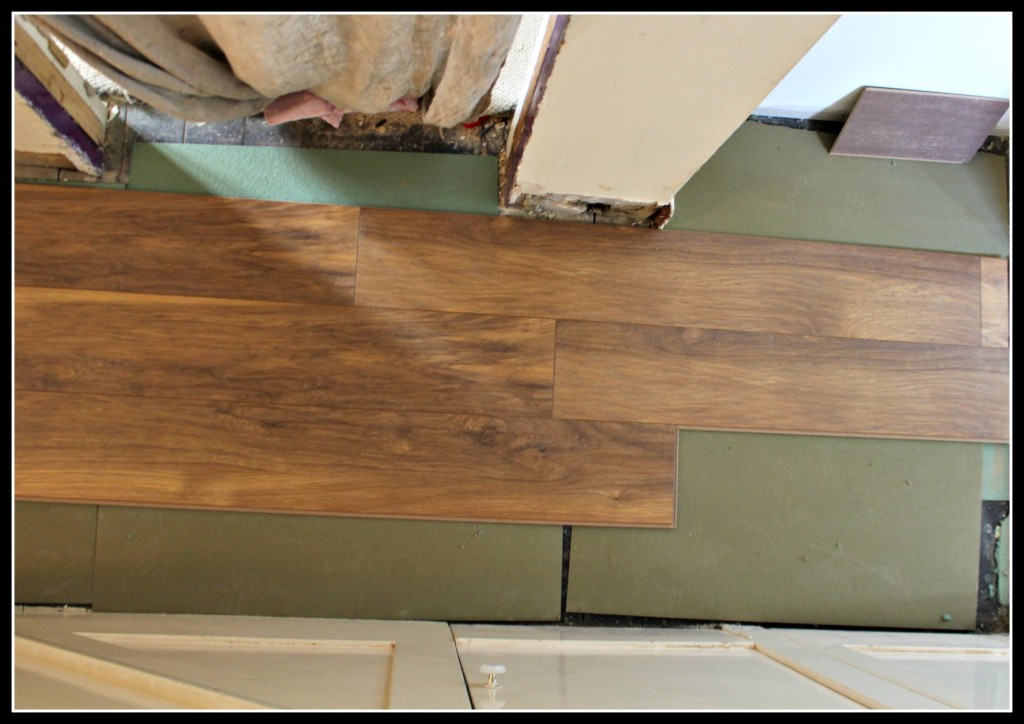
The laminate has grooves along the edges. You simply slot the laminate together and give it a quick tap with a hammer and wedge.
You will want to cut the boards to size to ensure the joints are staggered. You also need to work from left to right. Apparently this isn’t particularly common for laminate flooring so do keep it in mind.
A plus side of this kind of flooring is that you don’t need to worry about repetition of patterns in the wood. This can be an issue with some laminate floors but I haven’t seen any repeated patterns at all.
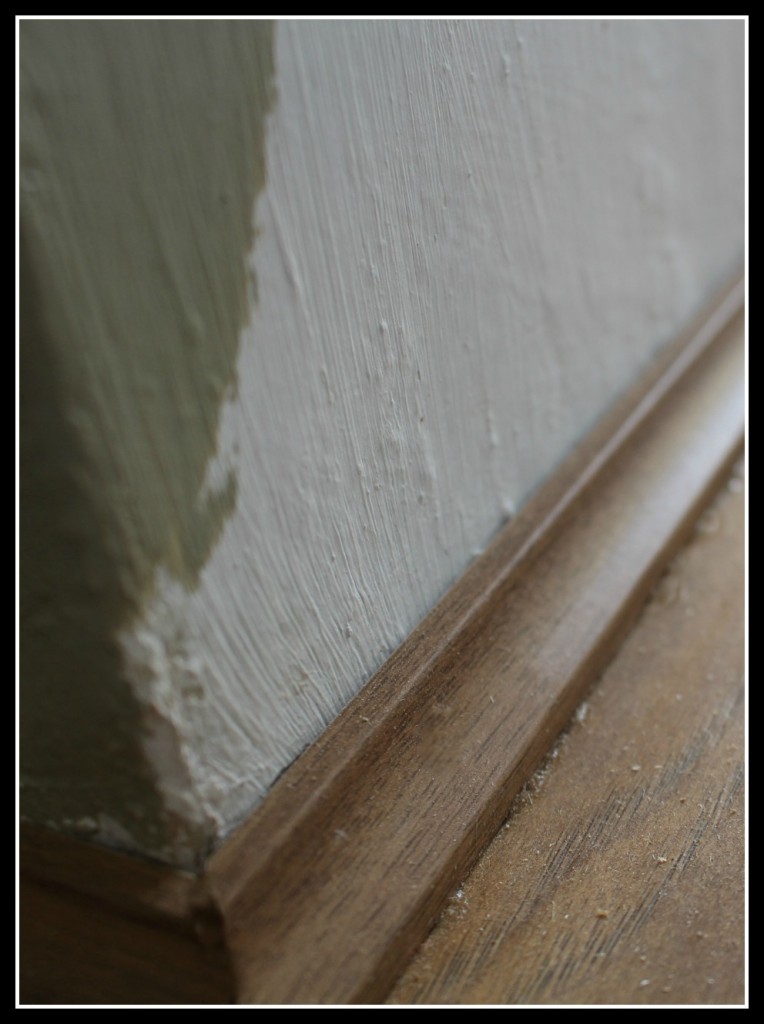
Finishing off
To finish off, you will want to add trim around the outside of the flooring. This will stop dust and muck from building up and make the floor easier to clean. This should be stuck to the laminate using mitre glue. You will need to cut it to the correct lengths and you will need a mitre saw to cut the trim to the correct angle in corners.
Aftercare
In an unfortunate twist of luck, we took delivery of a steam mop just a few months ago. It is now redundant and gathering dust in the garage. You cannot use a steam mop on this particular wood laminate. You will invalidate the warranty if you do so. Consider yourself warned!
We sweep the floor, hoover it and then wipe it down with disposable floor wipes. In time I think we will invest in a decent mop sponges as disposables are not very environmentally friendly. At the moment, however, there is still a lot of dust in the kitchen, a legacy of the recent building work. When the dust has settled, so to speak, we’ll get that mop.
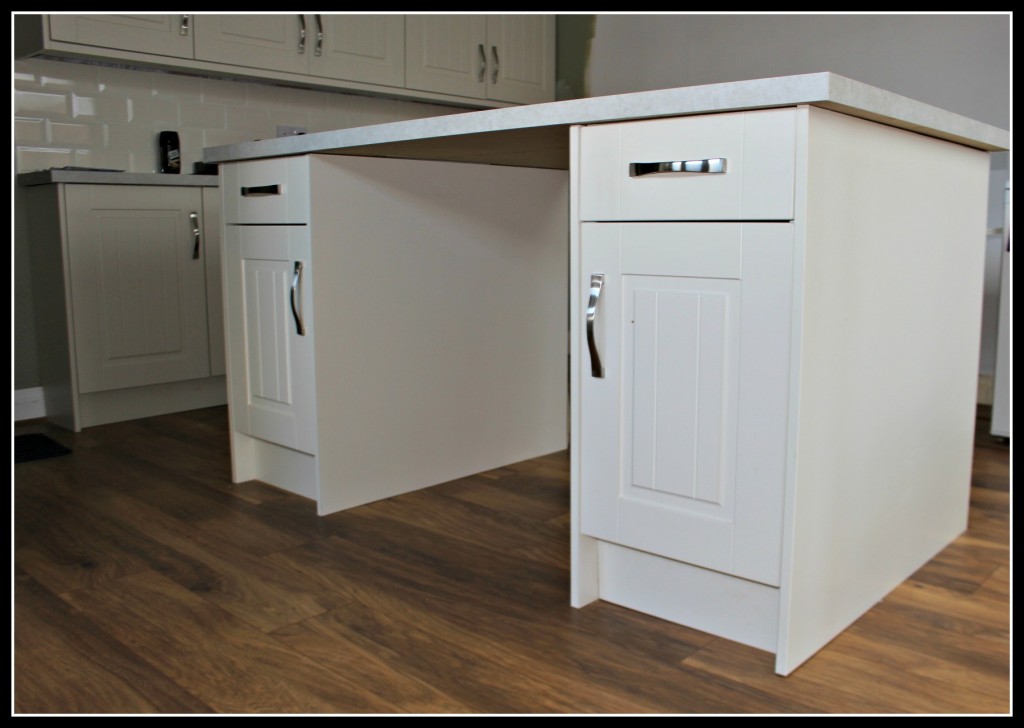
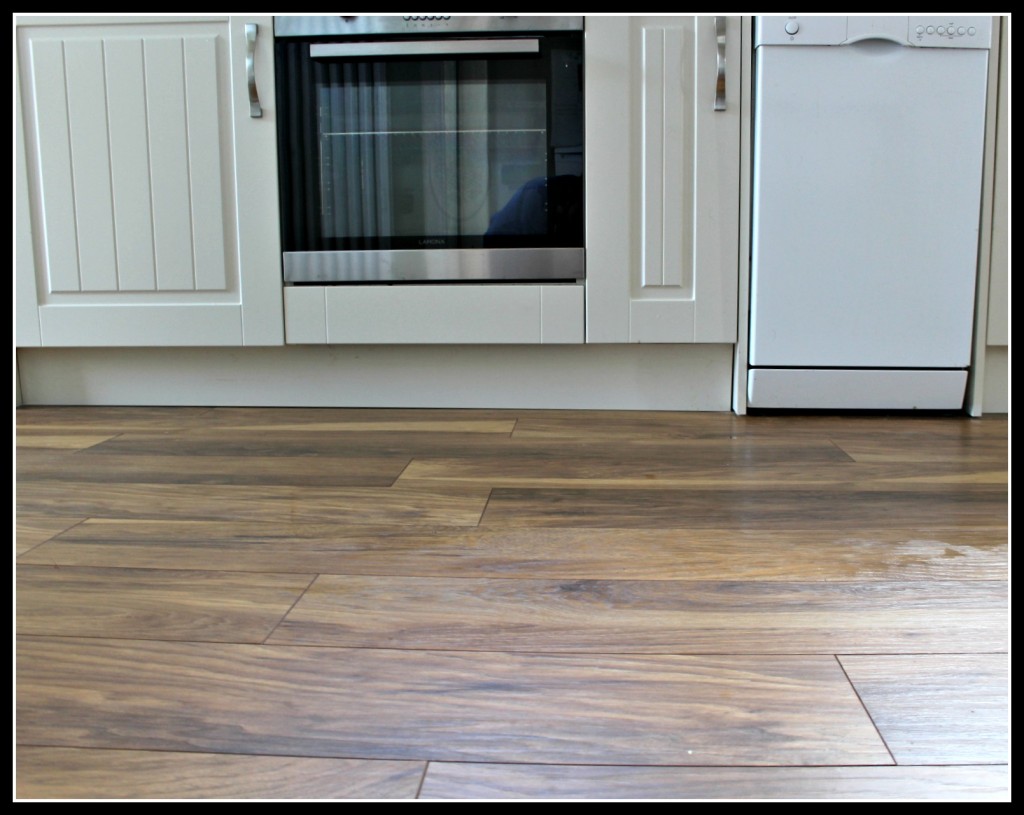
The finished article
Here is a further image of the finished flooring. I hope you’ll agree it looks good. We’re loving the floor and have had many admiring comments on it.
What do you think? Do you like our flooring choice? Do you have any questions about it? Please leave a comment below.
Disclosure; this blog post was produced in partnership with Wickes.


5 thoughts on “Our new kitchen; installing the flooring”
Thanks for this, we are looking at kitchen flooring at the moment so it’s very useful. Your floor looks brilliant, you must be really pleased.
Glad you found it useful. There may be one or two more kicthen-focused blog posts on the horizon.
Your floor looks wonderful. Thank you for sharing this. This post is really very useful.
That’s great, thanks for your feedback. Glad you like it.
Thanks for sharing. I found a lot of interesting information here. A really good post, very thankful and hopeful that you will write many more posts like this one.