I am today giving you an intimate glimpse of my world. As a a blogger who writes about family life, that may seem like a strange claim to make, but I am inviting you to explore my garden shed.

Okay, I’m not actually going to let you see the interior because the mess inside is just too embarrassing. You are, nonetheless, cordially invited to explore the exterior that, until a few days ago, was in desperate need of painting.
In fact, as I was taking these photographs, my eldest daughter, Helen, remarked that the people who had built the shed “hadn’t looked after it very well.” I simply mumbled a non-committal response, failing to fully admit that I was responsible for the poor quality concrete base and had built the shed single-handedly on top of the base five years ago.
Since then, the shed has been re-painted several times, but not for the past couple of years. It had always been painted in a light-coloured wood preserver but this time I wanted to do something different in the hope it would hold its colour for longer.
On this occasion I used Sadolin non drip woodstain. To clarify this product is for exterior use and the colour I selected was Jacobean walnut.
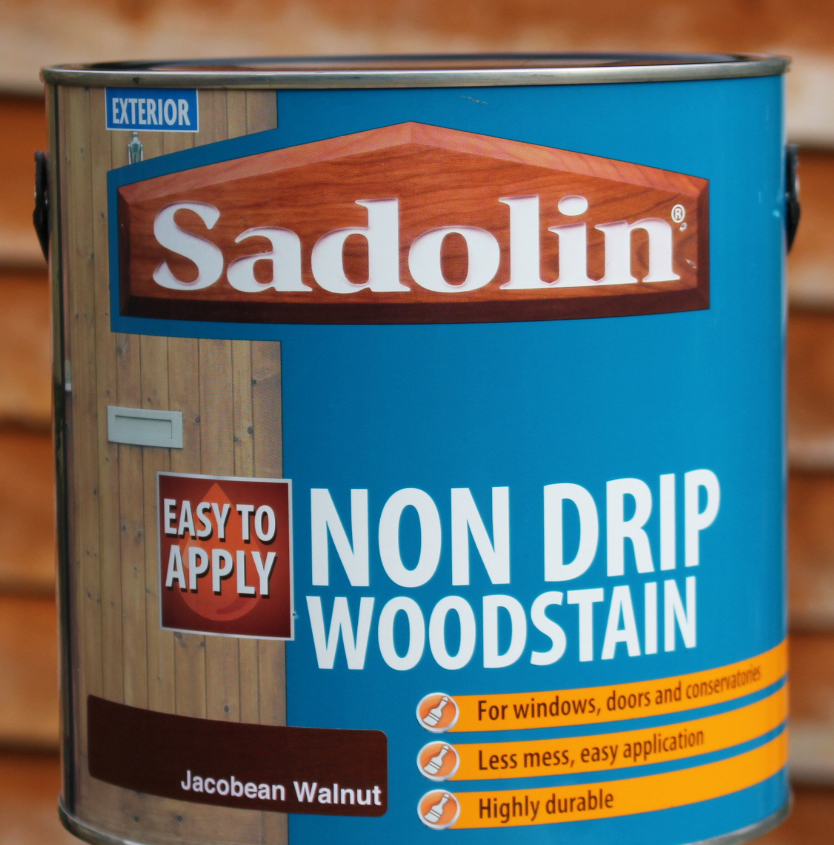
On inspecting the 2.5litre tin, I was pleasantly surprised to see it had a low vapour rating, unlike the wood treatments of yesteryear that stank. I also noted that one tin of this size should cover around 45 square metres and it was certainly enough for our shed.

Oddly, you are not supposed to stir the contents before use, although old habits die hard and I did so on auto pilot. I then loaded up the brush, and away I went.
The tin states this wood stain applies easily, and I couldn’t disagree. The one observation I did make was that the finish was better on rougher surfaces. Most of the shed is made up of typical rough planks but some of the corners and other sections are constructed from smooth, planed wood and the brush lines in these areas were more prominent.
With a little help from my daughter, I think we had the whole shed painted in an hour. This product is supposed to be touch dry in one to two hours and that seemed to be about right. It is suggested you wait between four and six hours before applying a further coat but the finish was so good after the first coat I didn’t feel the need to do anything further.
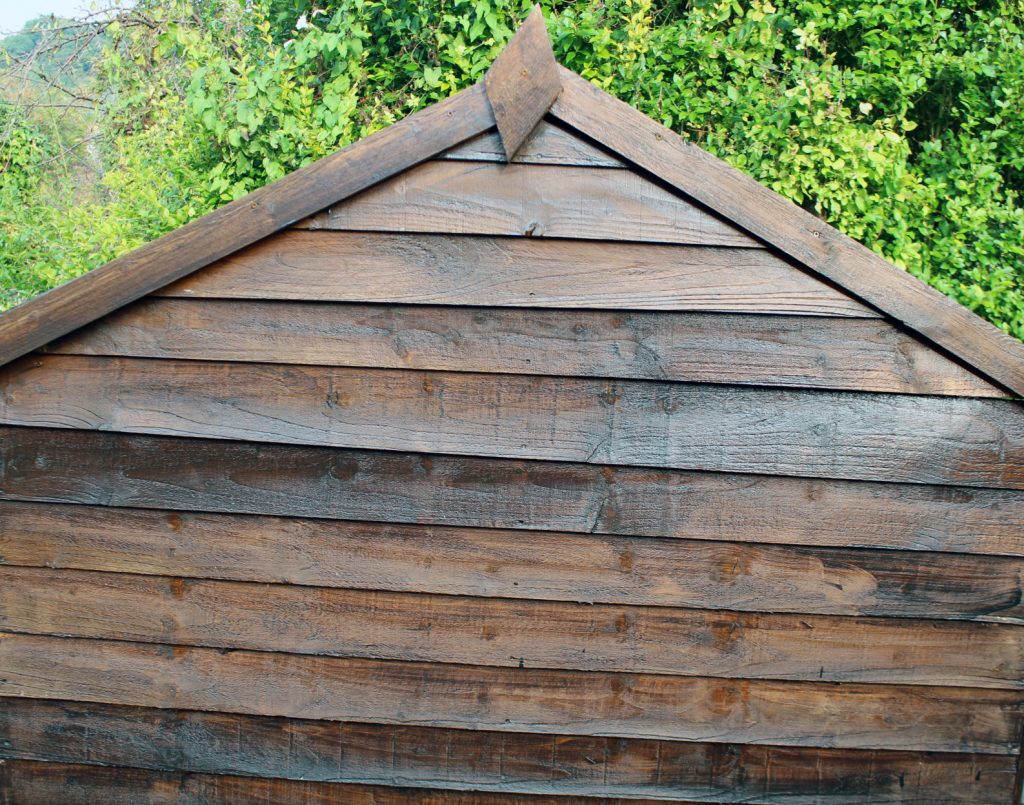
Having applied the wood stain, a real test came two days later. We had an absolute down pour and it rained on and off all day. When the poor weather had passed, I went to inspect the shed and expected to find the wood stain had washed off and that I’d need to do it again.
Nothing could have been further from the truth. The wood stain had remained in place and this impressed me a great deal. A further test will come next summer after it’s been exposed to the sun for several months. At this stage, however, I can’t comment on how it reacts to sun bleaching.
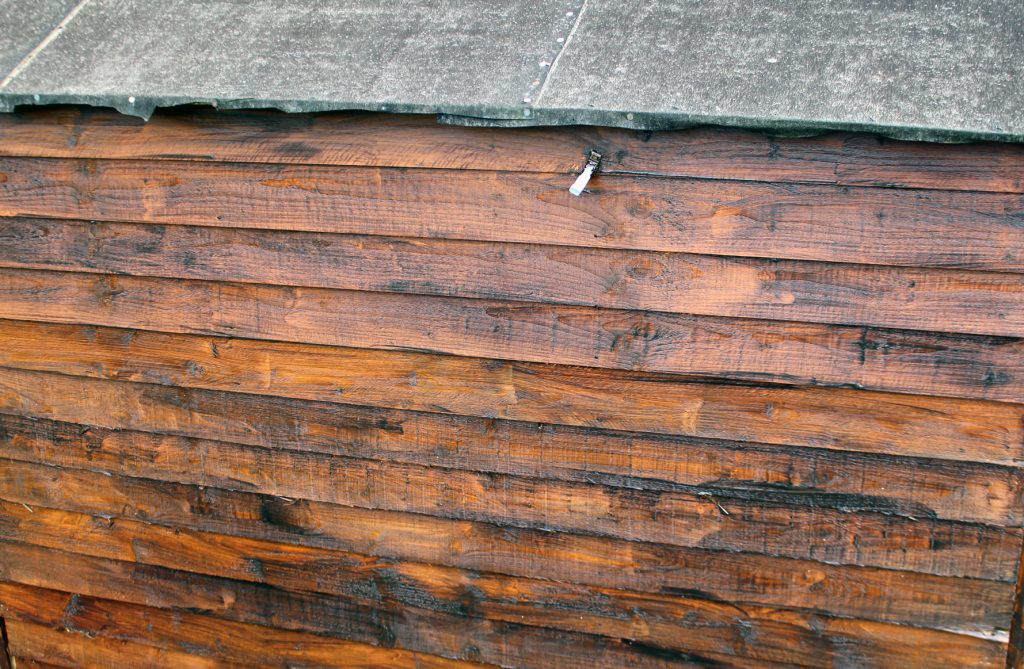
In my experience, this was an easy product to use and apply. It isn’t the cheapest (see below) but cheapest can sometimes a false economy.
Sadolin non drip woodstain is available from a variety of suppliers including Jewson’s, Homebase and Travis Perkins. At the time of writing you could expect to pay around £35 for a 2.5 litre tin. For more information visit the Sadolin website.


4 thoughts on “Giving the garden shed some love with Sadolin wood stain”
Good to see a cheap DIY that wasn’t a bust! A well-looked after wooden shed does wonders to add some life to a backyard, and its always great to have an excuse to bond with kids while doing some handiwork!
It certainly can. And a wooden shed is a must without a doubt.
It might be my age but I just enjoyed reading a post about staining a garden shed! Got to redo our fencing next year will bare this in mind ?
Well I’m glad my blog post bought you some pleasure! Good luck with the fencing.