I have a new hobby. It’s a hobby purely for grown-ups that gives me quiet time away from the hustle and bustle of family life. This, my friends, is quite important for a stay at home father like myself.
You may have guessed it from a few remarks I’ve made on the blog recently; I have taken up home brewing beer. This short video I’ve made gives you an idea what I’ve been up to and why there are almost 200 pints of beer in my garage.
This wasn’t an activity I was entirely inexperienced at. Many years ago, while still living at home with my parents, I brewed one batch with relative success. When I say many years, John Major would have been Prime Minister at the time. My previous exploits were, therefore, a distant memory but I had a rough idea what would be involved.
Something else that appealed to me about this hobby was the idea of doing something that was sustainable and could save money. It is, after all, very pleasant to have a beer or two once the children are in bed and rewarding to know you’ve made it yourself, not to mention considerably cheaper than beer purchased from a store. When you factor in the cost of consumable items, it can be as little as 50 pence a pint.
I don’t, however, want to leave you with the wrong impression. I have very strict rules about drinking alcohol and don’t drink every day (remember kids; drink responsibly!).
With my public information notice out of the way, how do you go about brewing beer and what will you need?
What you need
You’ll need to buy beer making equipment. This can set you back as little as £35 (Wilko is a good place to start and you can order online. There are, however, many independent home brew suppliers so do look around).
At the very least, you’ll need;
• A 25litre fermenter with air lock
• A syphon for transferring beer from the fermenter to the bottles
• Bottle caps, bottle capping device
• Bottle cleaning brush
• Sterilising powder
• A large brewer’s paddle and
• Brewing sugar or a variant such as ‘spray malt light’.
Here’s a tip for you. There are various brands of steriliser on the market, but I have found you can use Milton.
You will also need glass bottles. These must be green or brown. Clear bottles let in UV light and this can destroy the beer. Most beer making kits will produce around 40 pints so make sure you have enough to accommodate this quantity. So long as they’re properly sterilized, there’s nothing stopping you from re-using old beer bottles. From a sustainability point of view, it should be encouraged!
You’ll also need a beer making kit. A basic kit will contain a large tin of malt extract and brewer’s yeast. You can get kits in a huge number of styles; India Pale Ale (IPA), traditional ale, pilsner, porter, lager and so on.
If feeling adventurous, you may want to invest in a pressure barrel and hydrometer. Neither of these items is essential so don’t feel like you have to get them for your first couple of batches.
How you home brew beer

The principle is basically the same for all kits.
- Sterilise everything that is going to come into contact with the beer immediately before use. This will be the fermenter, paddle, air lock and any measuring jug that you may choose to use. Do not try and cut corners. Of the eight batches I’ve brewed, one has gone very wrong and I suspect it’s down to poor sterilisation.
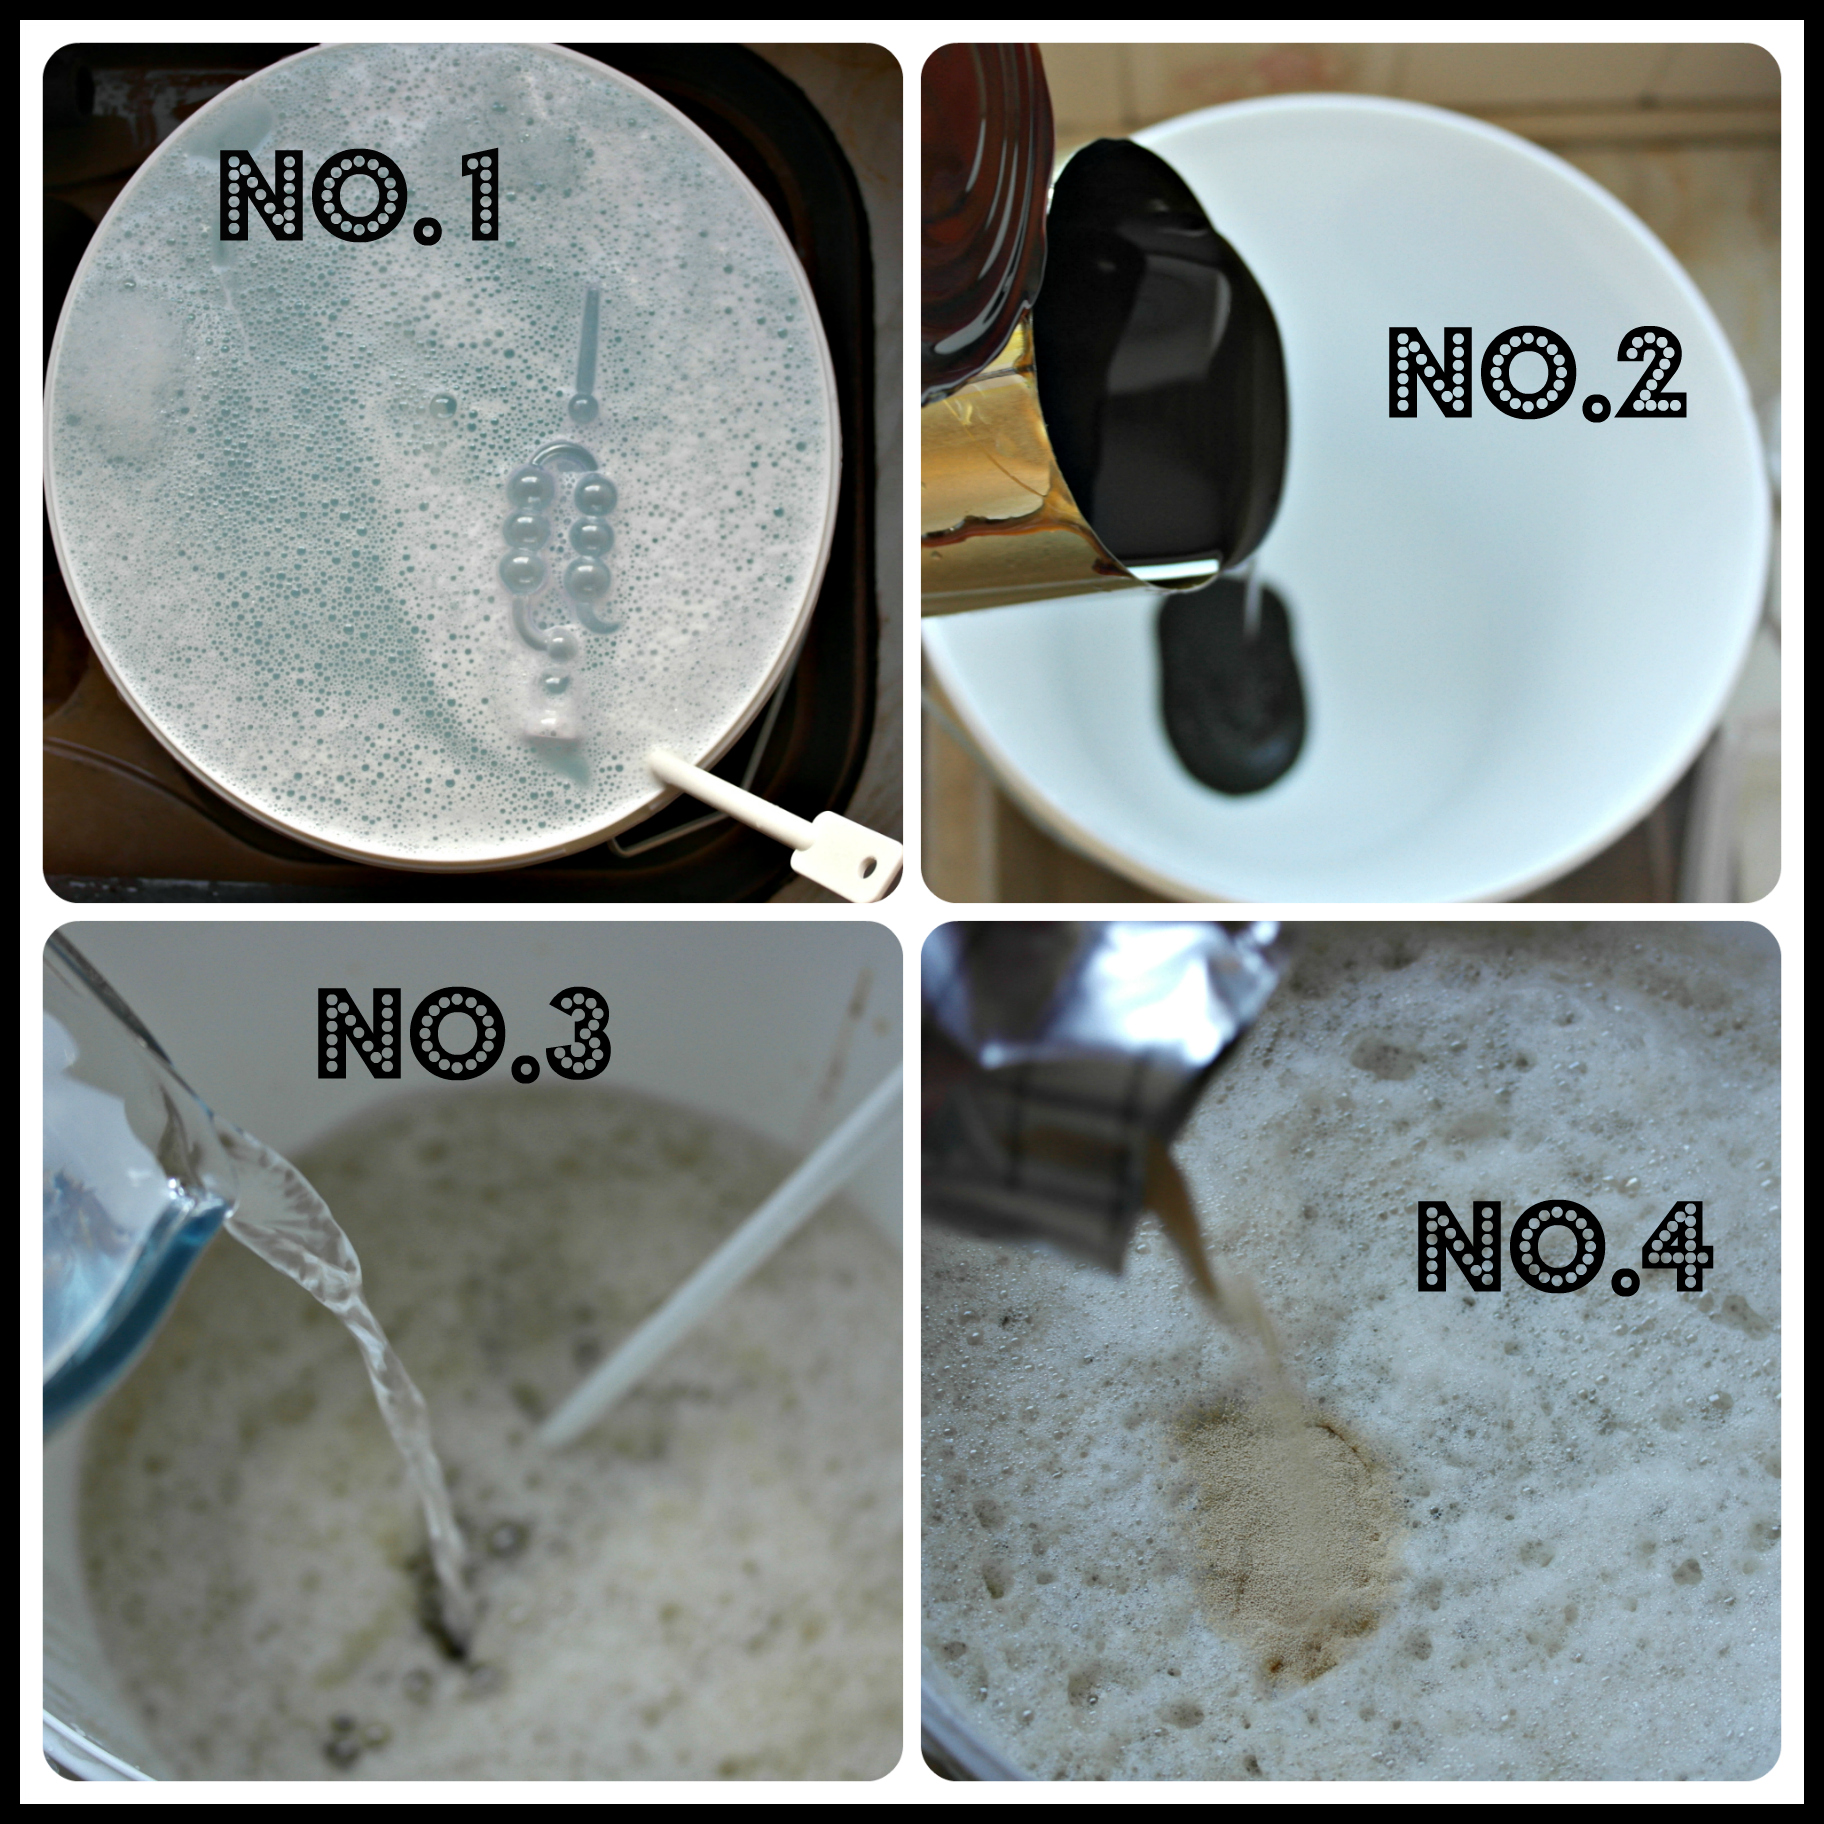
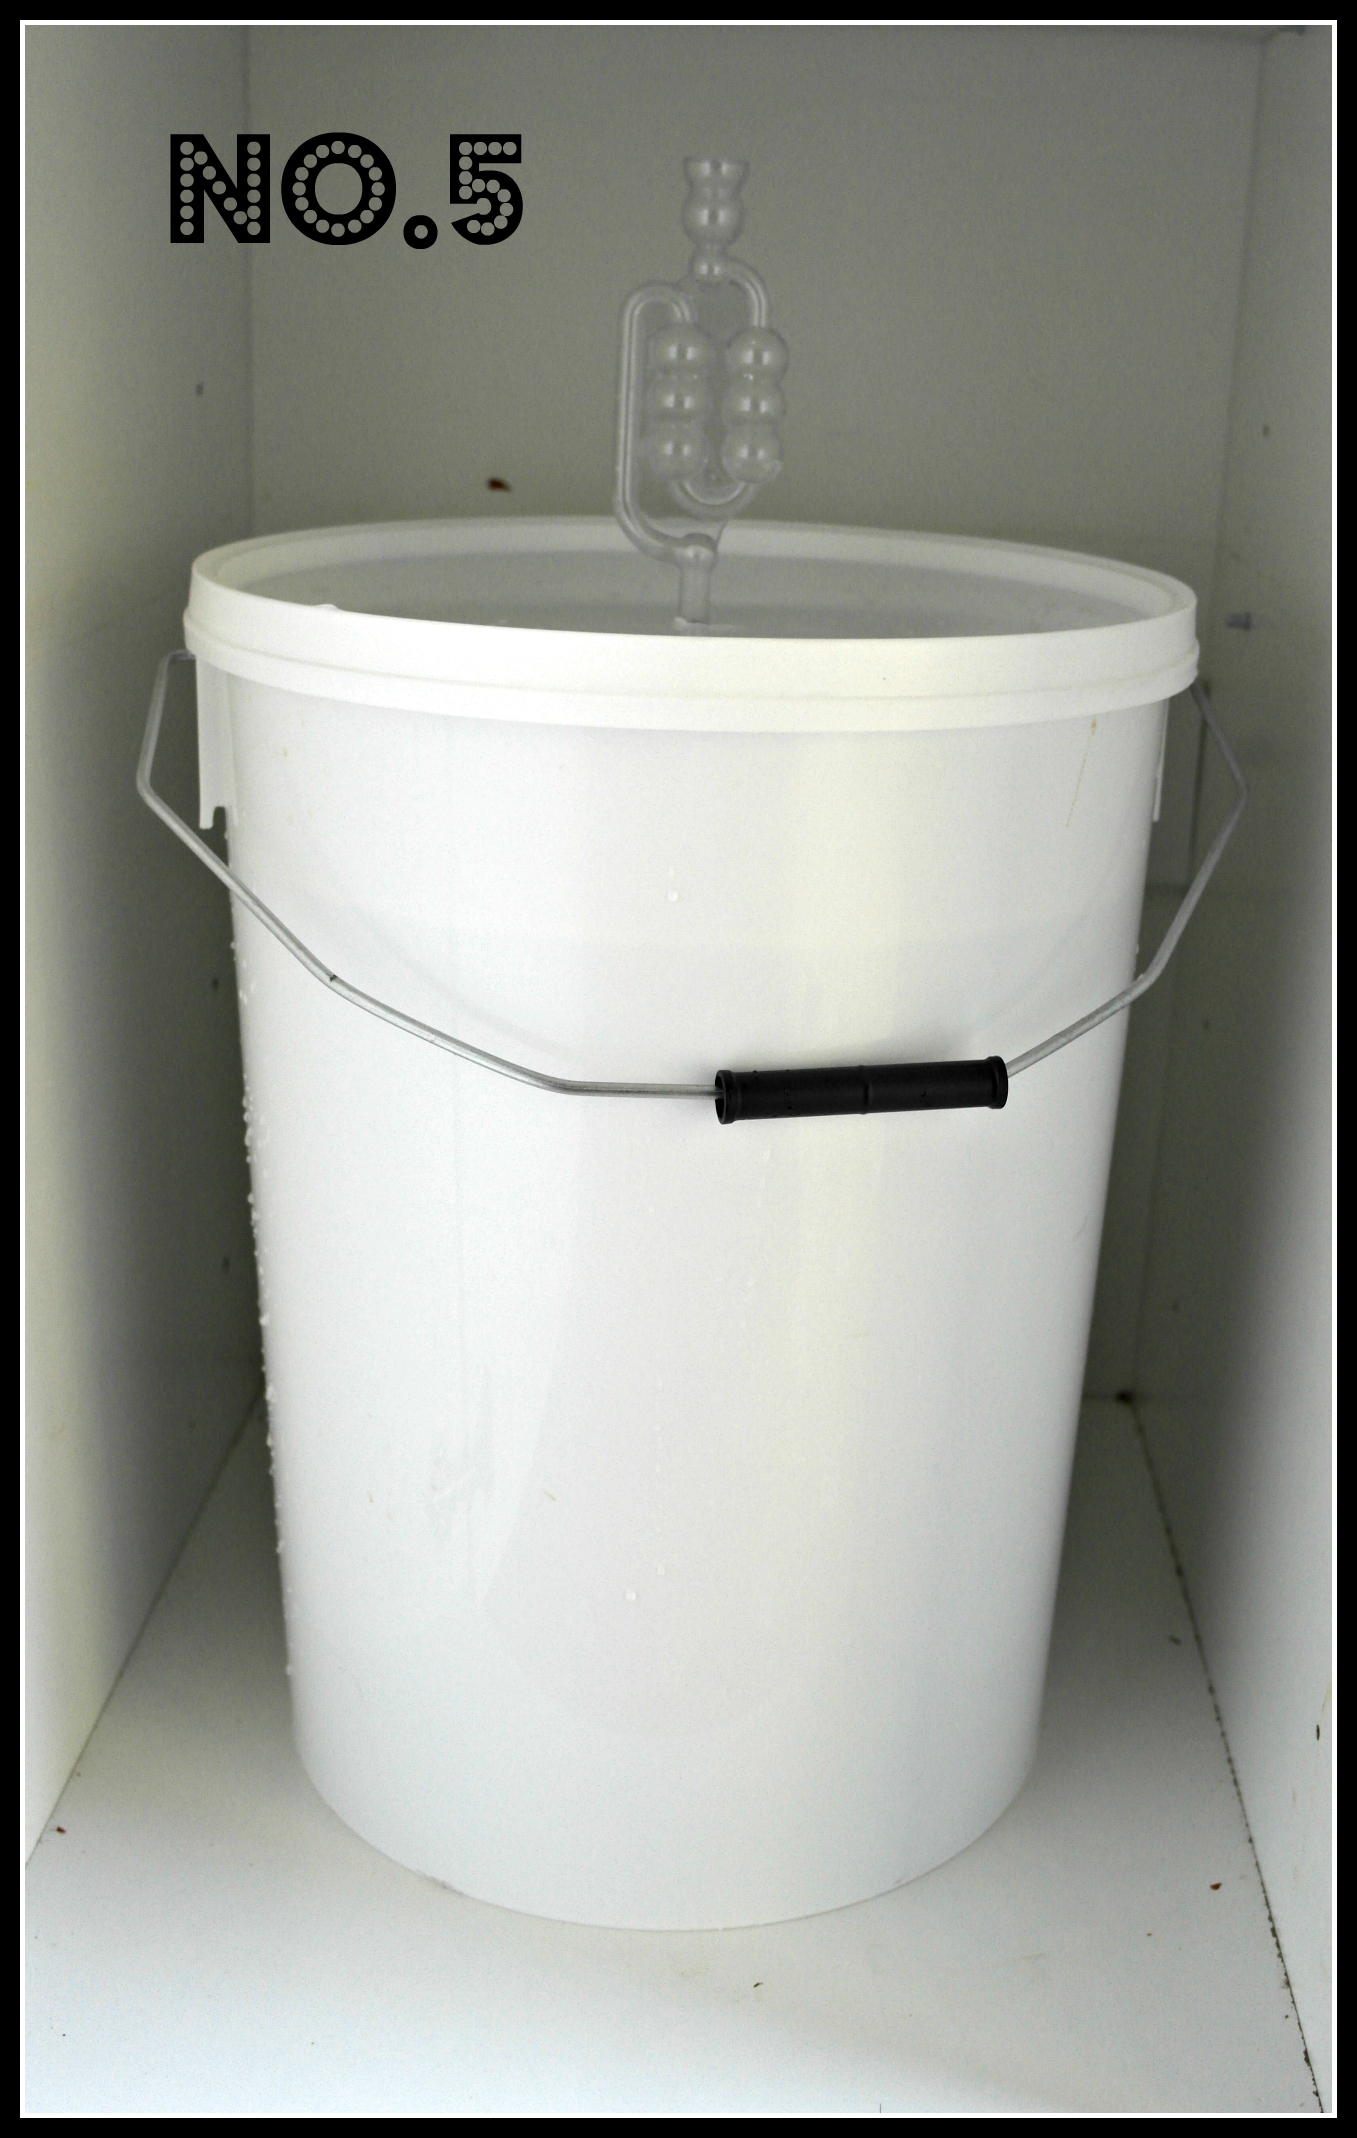
- With everything sterislised and rinsed, you pour the malt extract into the fermenter
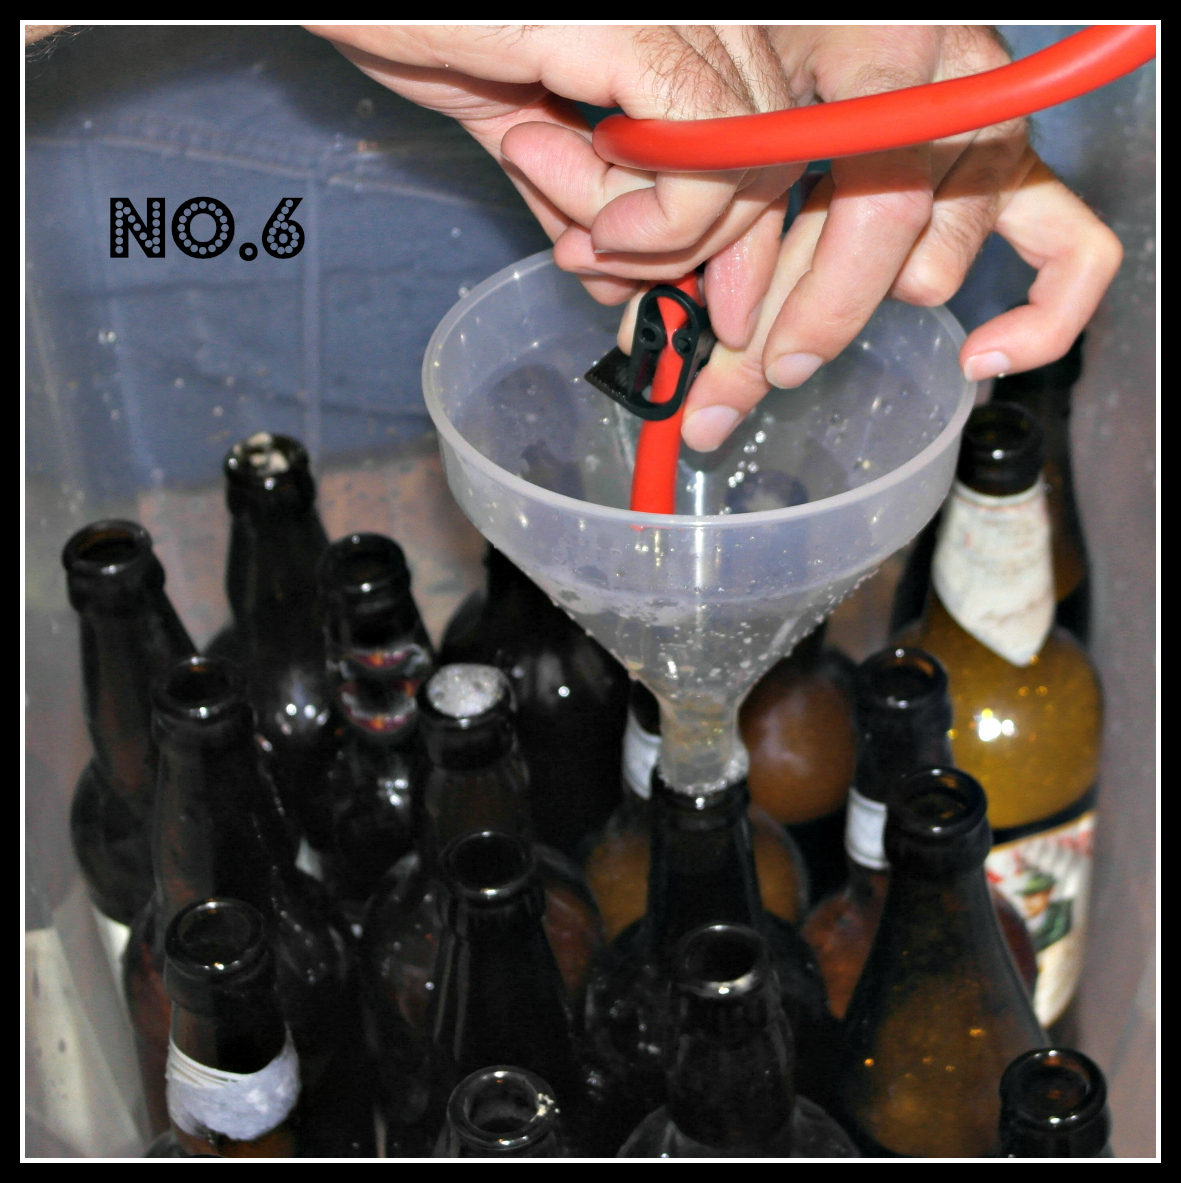
- This is quickly followed by boiling water, usually about 3.5 litres of it. You then top up with a further 22 litres of cold water. Depending on the recipe, you might add brewing sugar at this stage.
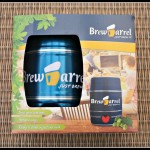
- The fermenter should now be very full. It is time to add yeast, stir the mixture thoroughly and then seal it up with the lid and air lock.
- Place somewhere out of direct sunlight that is between 18 and 25 degrees celcius. Overnight, the air lock should start bubbling as the beer ferments and produces CO2. The air lock should bubble vigorously for the first couple of days. It will steadily bubble less until it stops.

When you’re sure the beer has stopped producing gas, it’s time to bottle it (or to transfer it to a pressure barrel if you wish to use one). When bottling the beer, you add a teaspoon of brewing sugar (or equivalent) to each bottle. You transfer it from the fermenter to the bottle using the syphon. Place the bottled beers somewhere at room temperature for a couple of days before moving somewhere cool for two weeks.

Voila, your beer should be ready! In truth, however, you probably want to leave it for between a month and six weeks to condition in the bottle properly.
This is how I’ve spent some of my free time recently. It’s turned out to be a fun and rewarding hobby. Have you brewed your own beer? Would you consider it? I’d love to know what you think.


6 thoughts on “My new hobby; home brewing beer”
I tried to brew unsuccessfully in my early twenties.
Mind I was very much a lager lout then. Much more discerning these days, 40 pints of pale ale would last me a couple of years!
You’ve tempted me to give it a go again.
If you need any help Ian, come knocking on my door! Most important thing; sterilise, sterilise, sterilise! Thanks for stopping by and commenting.
My interest to home brewing has spurred when I bought a brew-your-own-beer kit called brew barrel.Now, I have a good resource to go to whenever I have questions with home brewing. Are you also participating in any home brewing community?
Not really, but it’s something I Should do! I have a friend who is a keen brewer though and we swap ideas.
hey mate any news about the beers you make?
Yeah, amazingly the pilsners and lighter beers I have brewed have turned out best. I didn’t expect this.