If you have young children, I will wager that shoe and boot storage is an issue in your household. I would regularly come home to find my kids’ footwear scattered all over the hallway next to the front door or in our kitchen, next to the back door.
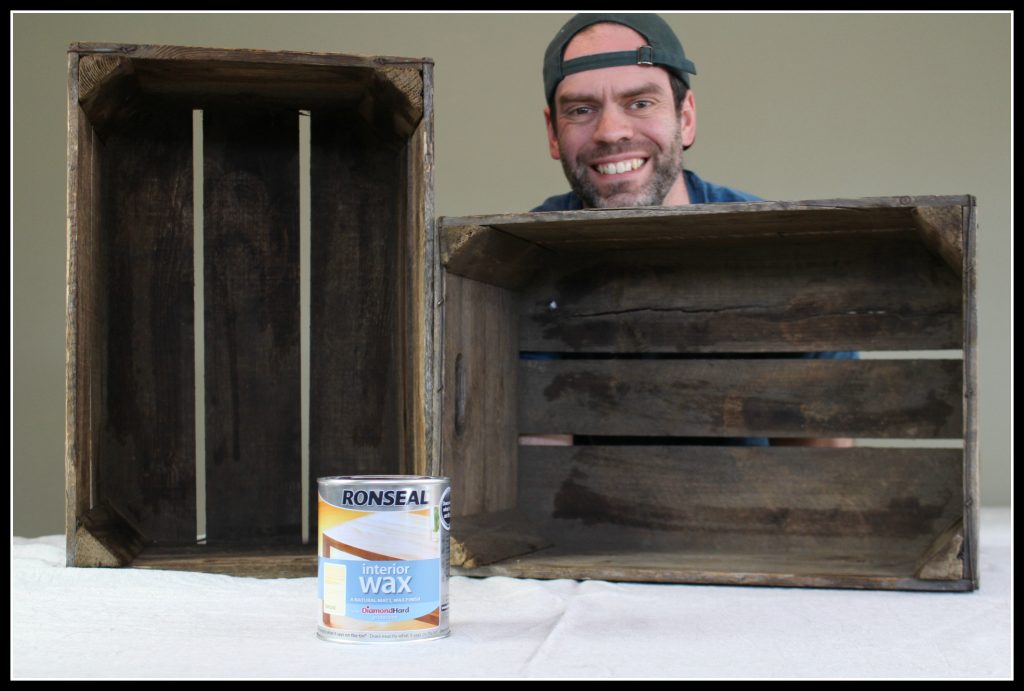
Having just replaced our kitchen and put down new flooring in the hallway, it seemed like a good time to address this issue. Inspiration came from wood care specialist Ronseal. I was asked if I would care to make something using it’s interior wood wax. I searched the internet for ideas and decided shoe and boot storage was the way to go.
It was very simple to make. I’ve produced a pictorial guide below, but you can also click on the video here to see a vlog I produced that shows what I did.
Treating the crates
Vintage crates are popular, collectible items. They are worth treating to protect them from damage. This is why I used the Ronseal interior wax. Not only does it bring out the wood’s colour, but it also leaves a subtle, wax coat that protects it from scratches, spillages and so on. Before treating the crates, I should mention that different tools can significantly affect the quality and complexity of DIY projects. For example, lathes are fantastic for those looking to craft more intricate wood pieces.
Before applying, key off with a fine sandpaper. These crates were made from a very rough wood so I didn’t have to worry about this too much. I would, however, strongly recommend this stage if applying the wax to a smooth surface.
Wipe the wood down with white spirit and allow it to dry before applying the wax. A lot of muck had worked its way into the wood and a quick wipe down cleaned so much of it off.
I found the wax went on to the wood very easily. Two coats was enough although three was recommended.
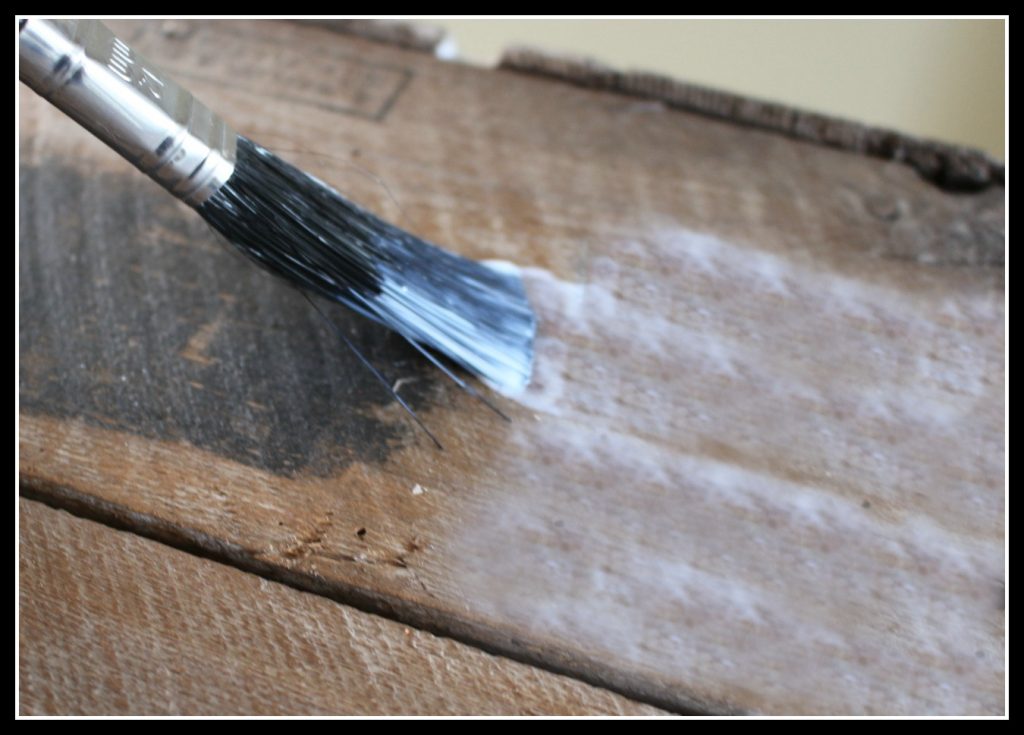
I wasn’t sure how the wax, which has a matt finish, would work on the rough wood of old fruit crates. I was very pleasantly surprised. As the picture below shows, the gorgeous brown colour of the wood was enhanced.
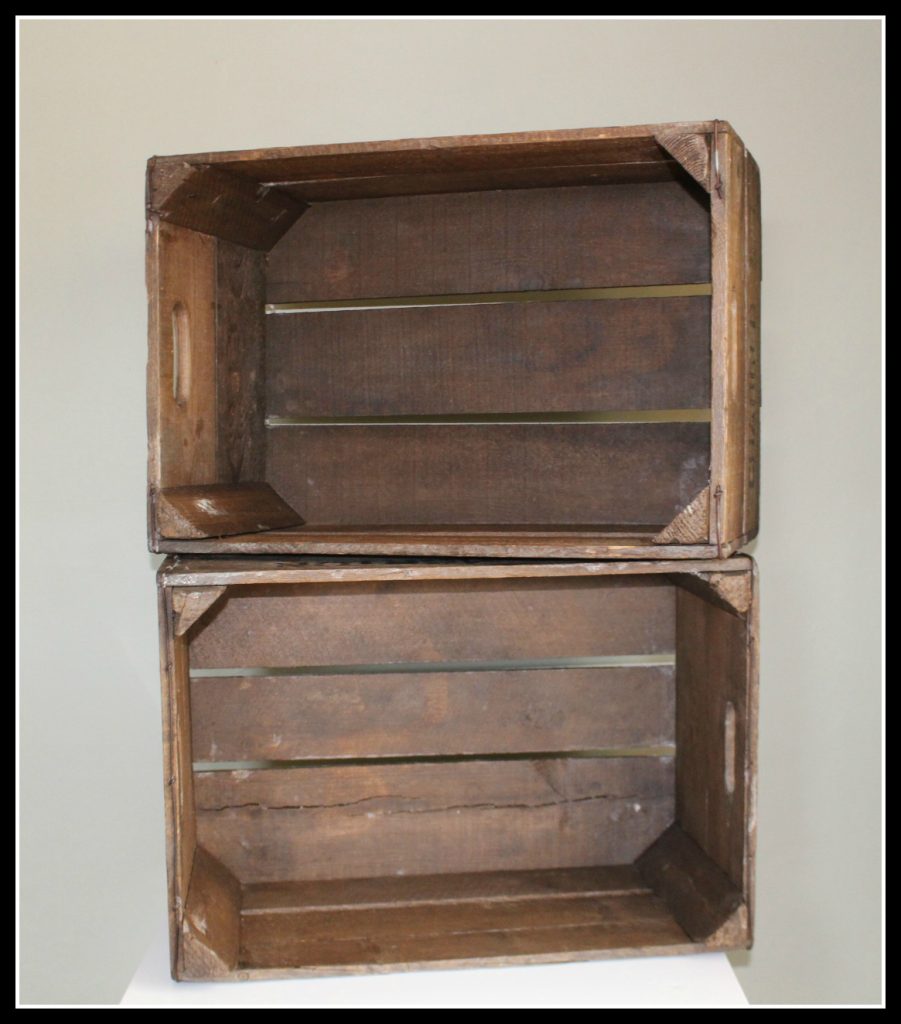
You should leave around an hour between each coat. Be careful about applying the wax too thickly. By their nature, these crates have all sorts of nooks and crannies. I had to spend a little time going round with a knife blade, scraping off wax in some places where it had been applied slightly too thickly or settled in thick clumps.
Fixing the crates together
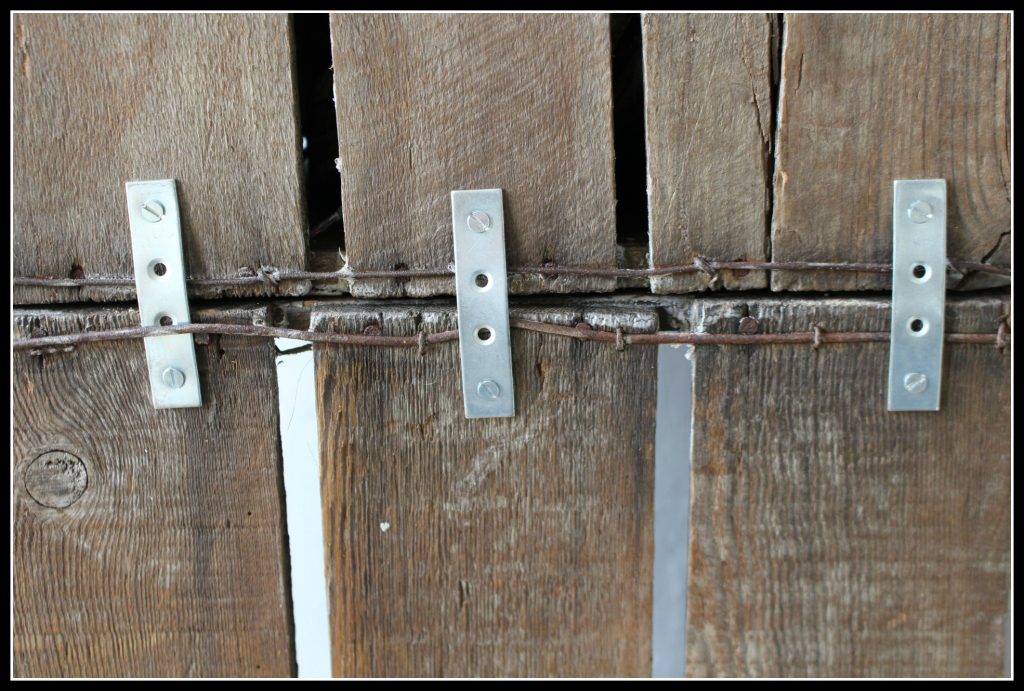
I used 75mm mending plates at the rear of the crates together to fix them together. I drilled small pilot holes before using wood screws to put them in place.
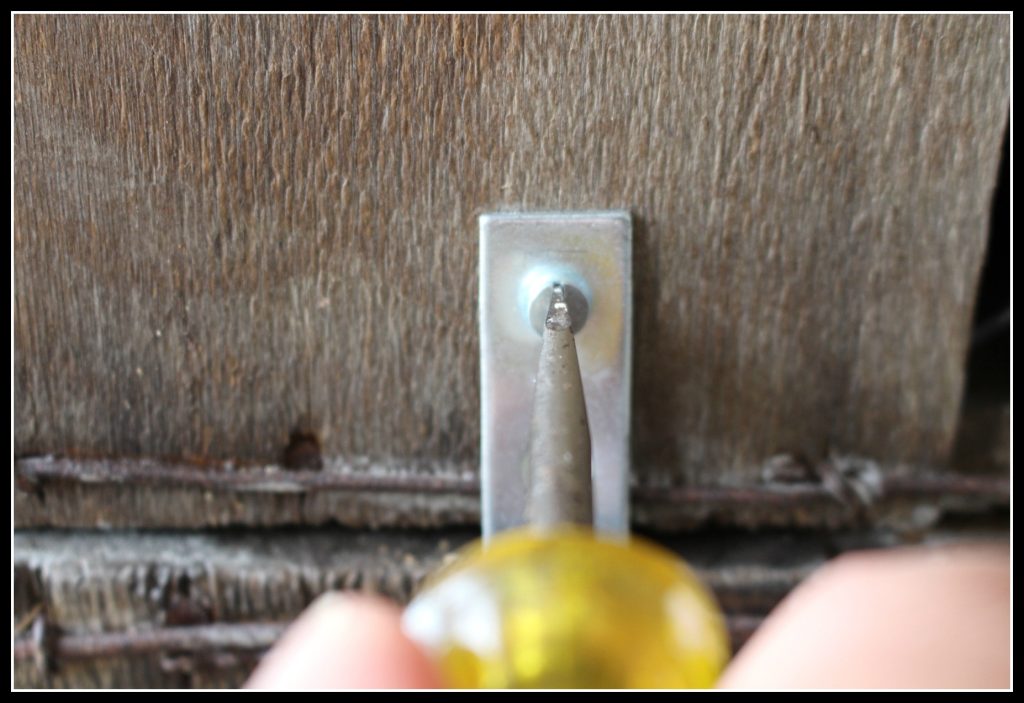
To be on the safe side, I also used a couple of old, brass wood screws at the front of the crates. The dark, brass colour means they don’t show up as much.
Boot rack on wheels!
This last stage is optional. Having seen it done on a similar design of boot rack elsewhere on the Internet, I added a caster wheel to each corner.
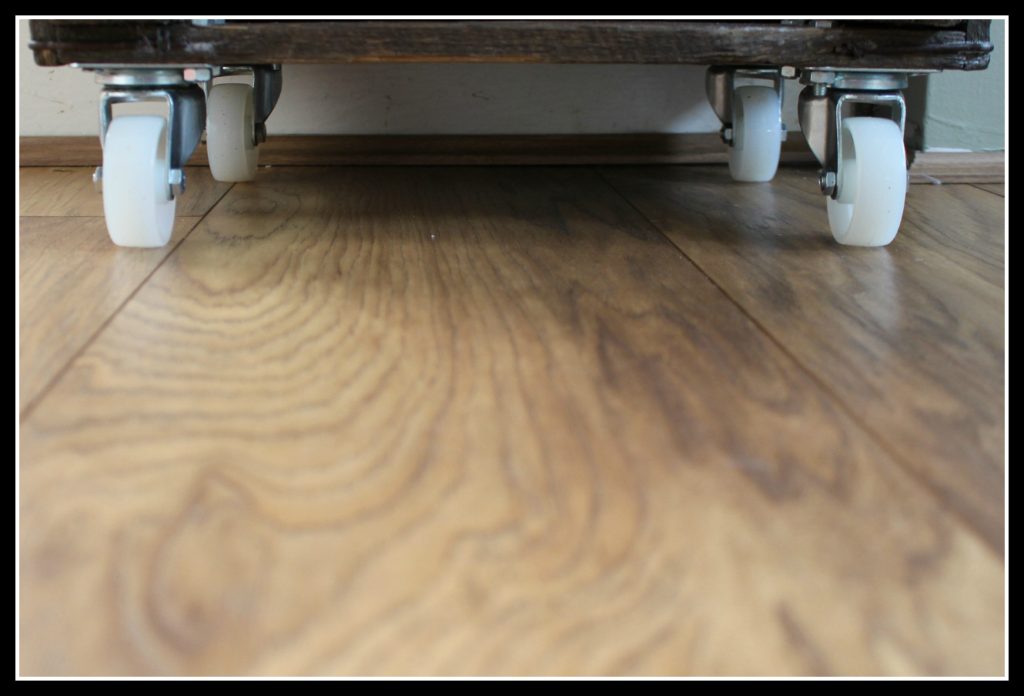
This was worth doing. On a few occasions I’ve had to move the boot rack around and this way round you don’t have to lift any heavy, awkward objects. You can simply wheel it around.
Cost
- Crates: £0 – £45 an item
- Ronseal interior wood wax, 750ml tin (enough to cover 16m2): Approx. £16
- Mending plates: £1.49 for a pack of 10 from Screwfix
- A pack of four 50mm caster wheels with nylon tyres: £8.99, also from Screwfix.
Approximate total cost: £26.48 NOT including crates.
Crates are available from a variety of upcycling websites or eBay. By asking around, however, I found a friend who had some knocking around that he was prepared to gift me. To keep costs down, ask around and look in unlikely places!
Ronseal interior wax is widely available from a range of suppliers including B&Q, Homebase and any good timber merchant.
Finished article
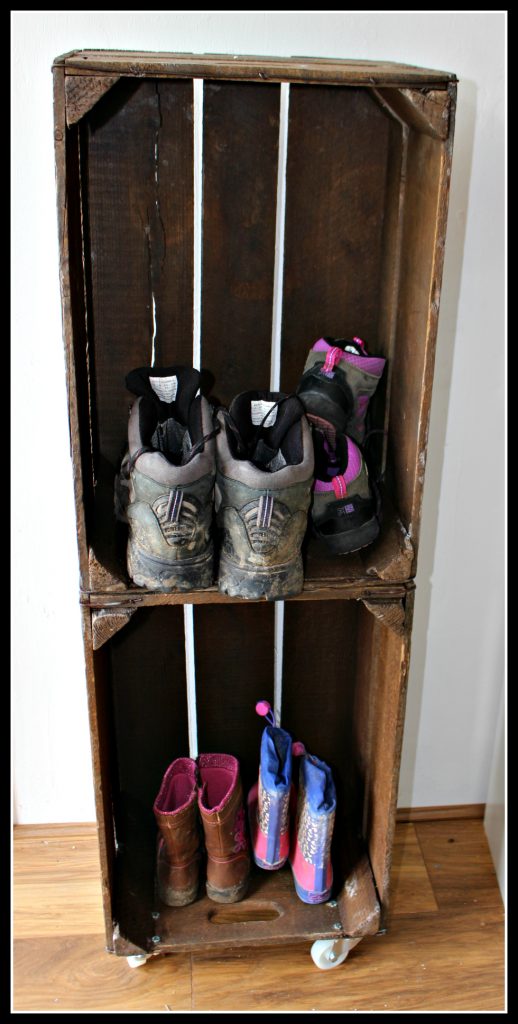
Here is the finished article. It now sits by our back door, which is considerably less cluttered! I hope you will agree it is a nice looking item. It certainly stands out as a practical and eye-catching piece of furniture. The Ronseal wood wax definitely enhanced the wood and offers great protection.
Disclosure; this post was produced in collaboration with Ronseal.




5 thoughts on “DIY project; using vintage crates to make boot and shoe storage”
LOVE this John!!! What a fantastic make!! You’ve turned into a proper little Laurence Llewelyn Bowen since you redid your kitchen haven’t you?! 😉 Can’t wait to see what you come up with next! Thanks so much for linking up with us pet! Caro xx #HomeEtc
Laurence Llewelyn Bowen….but with better clothes I hope! It was fun to make this shoe storage and very easy. Thanks for hosting #HomeEtc.
What a thrifty idea!! And you can move them too! Win win! Looks great. Thanks so much for linking up, love Jess xx
#HomeEtc
My pleasure to link up. They’ve certainly made the house a lot tidier.
Pingback: The benefits of upcycling - Dad Blog UK