Early one morning my daughter, Izzy, came downstairs to find me setting up my photography equipment. Her timing was perfect as I was aiming to shoot some images of food colouring dispersing in a vase full of water. Having an assistant to pour the food colouring would help enormously. Working together, we produced these images. It was very simple and so I thought I’d produce a liquid flow photography tutorial in case you wanted to give it a go.
What’s going on in these pictures?
Let me say from the beginning, this is a very basic tutorial. If you use flash guns and so on, you can produce amazing, complex images like the ones in this blog post. I’ve only done this a couple of times before so I purposefully kept it simple.
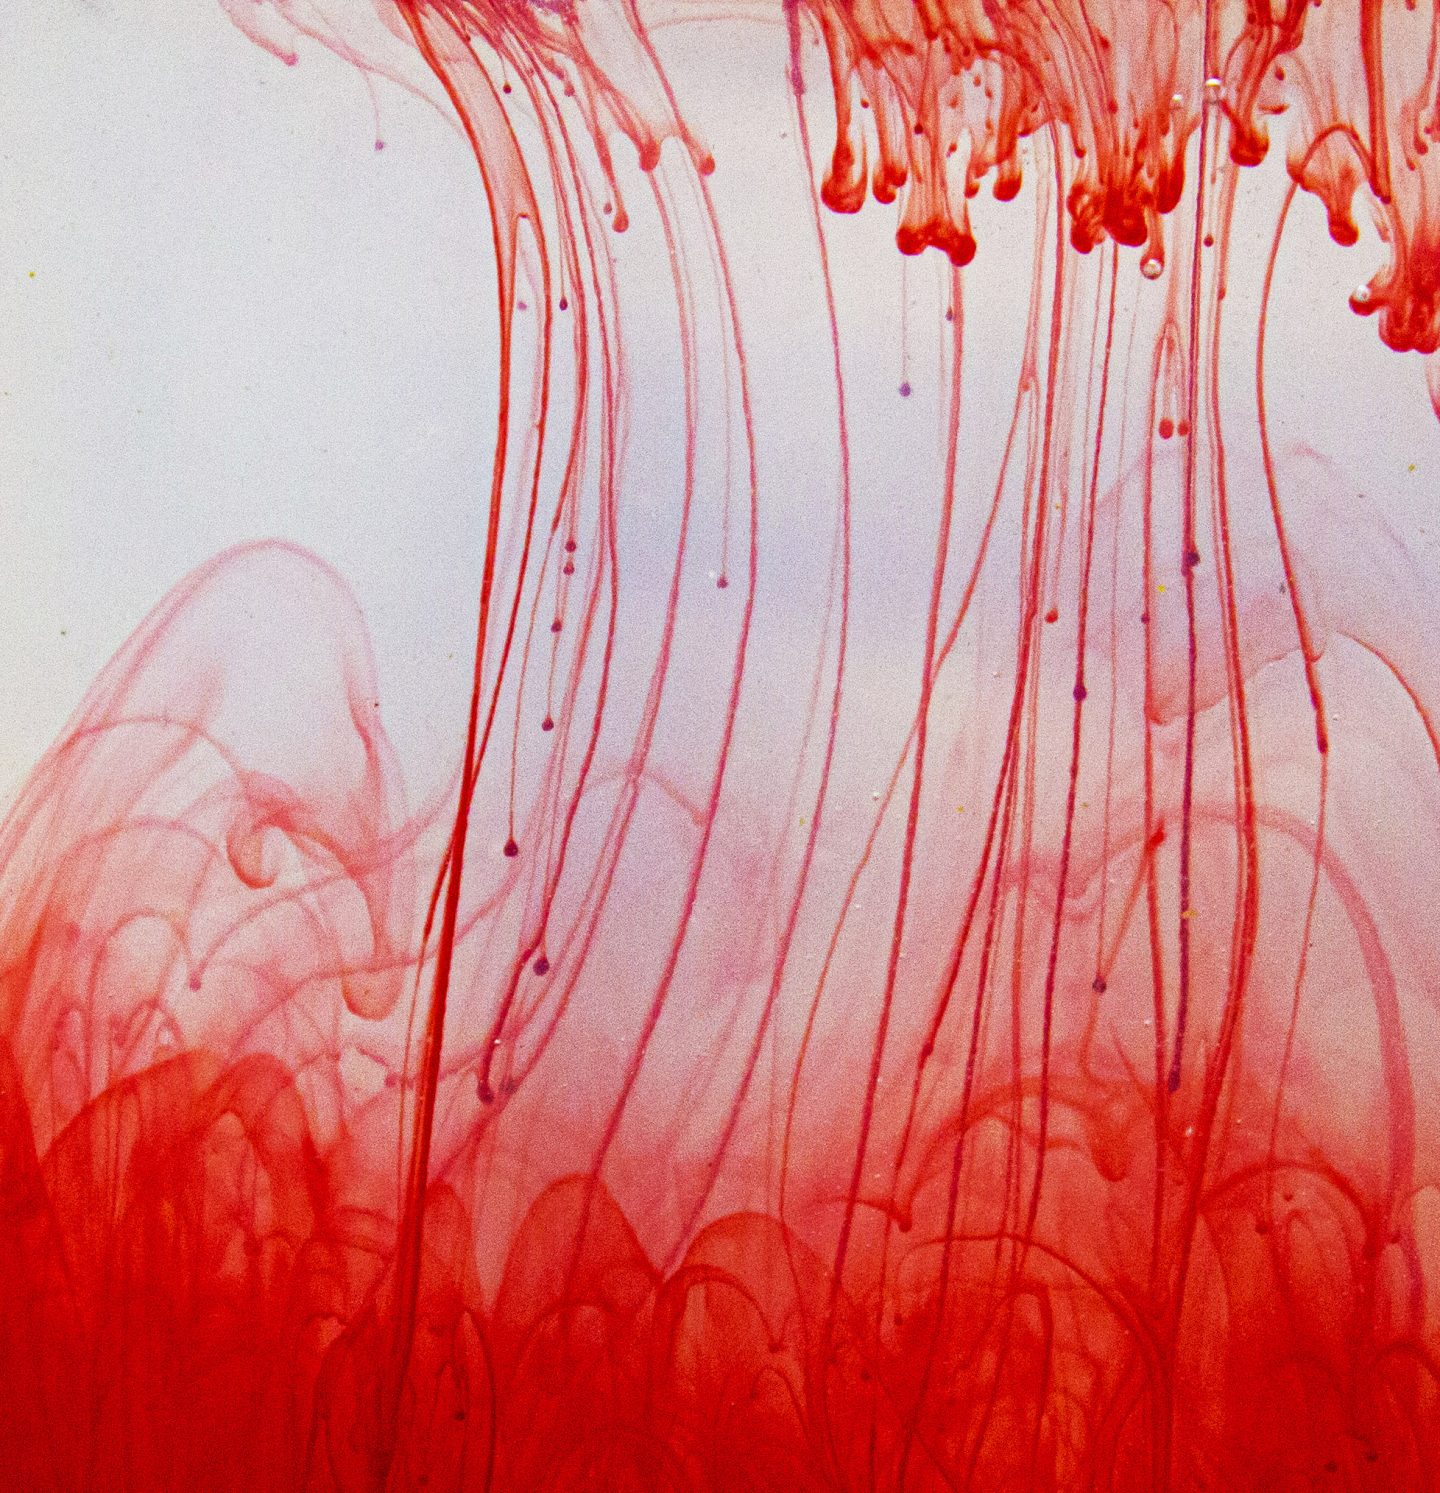
That’s red food colouring that’s been dropped into the top of a clear glass vase filled with roughly three litres of water. I had mixed a quarter of a teaspoon of xantham gum to the water to thicken it slightly and slow the dispersal of the food colouring (Tip: Be wary of using too much xantham gum. Use too much and it will have the reverse effect and the colouring will shoot straight to the bottom of the water without making any patterns).
How I took these pictures
- You need something plain coloured behind the vase. I used a plain white sheet.
- I placed the vase on top of a sheet of glass with white paper underneath it. You could possibly skip this move if you want to keep it really simple, but I think it helps deflect some of the light upwards.
- My camera settings were as follows: Aperture f5.6, focal length 55mm, shutter speed 1/160 of a second and ISO 1600. My preference is to shoot in manual mode, but if you want to keep things very simple, you could try burst (sports) mode.
- I used one studio light to ensure the vase was lit up. If you choose a well lit spot, however, you could probably get away without using any lights.
- With everything set up, Izzy dropped the food colouring into the vase and I snapped away! Here’s another tip; do move around as you take the pictures because I found I got very different results from different positions.
- Word of advice, you may need to dangle something in front of the vase just before you shoot the first picture. The camera won’t have anything to focus on before the food dye is in the water so this helps the camera do its job.
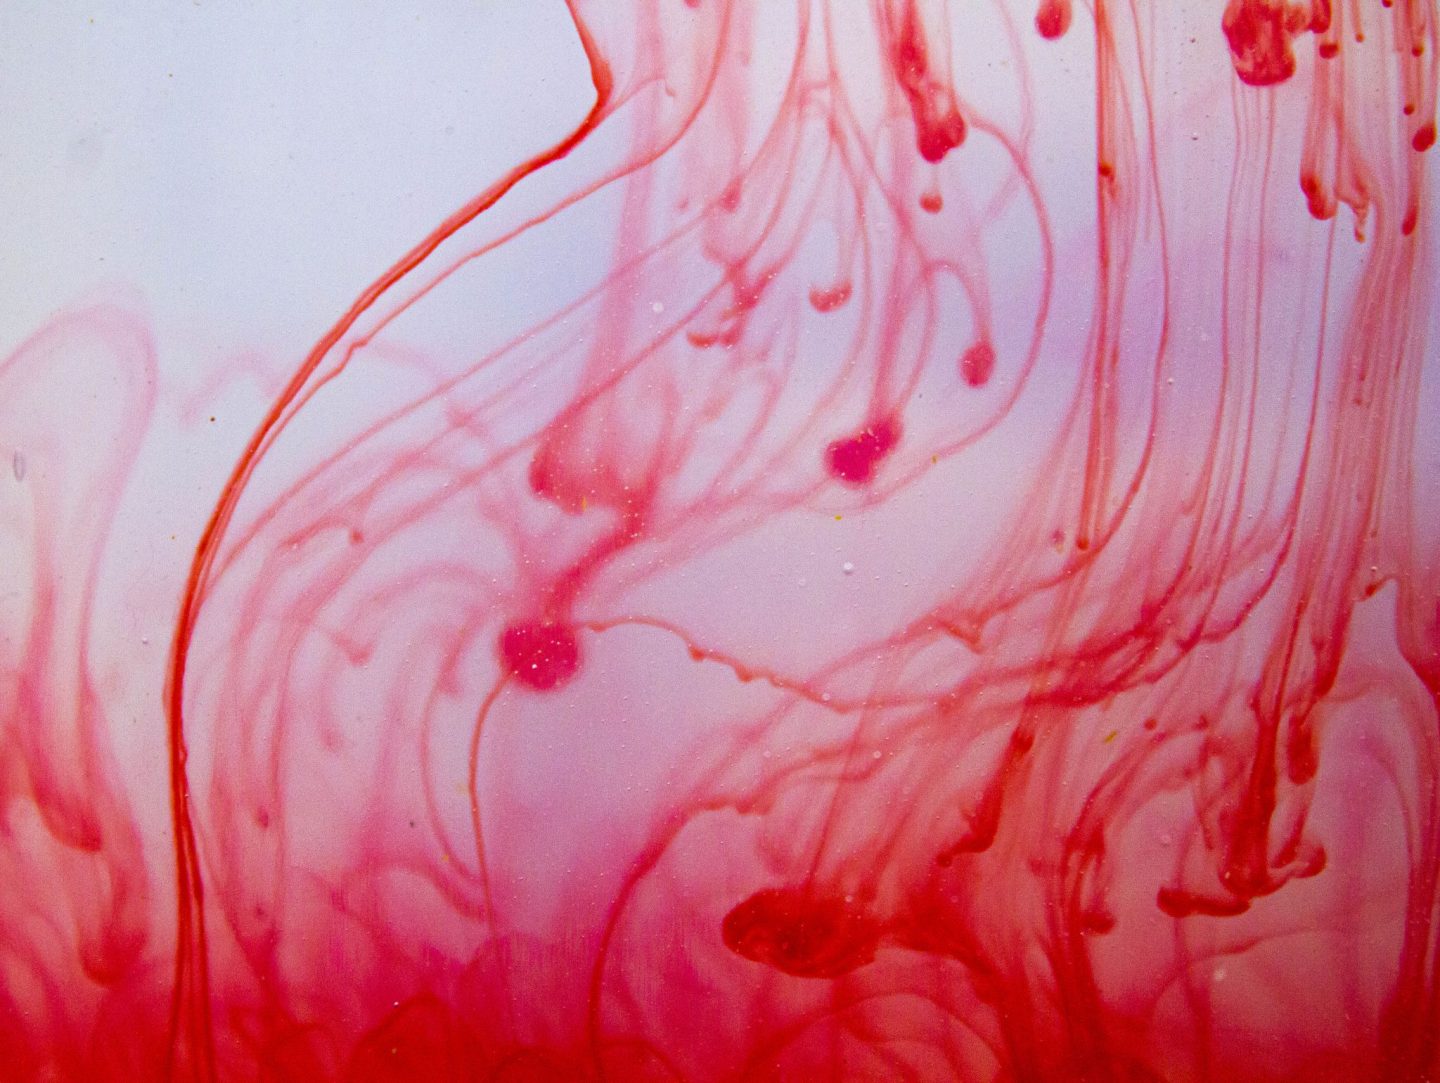
The results
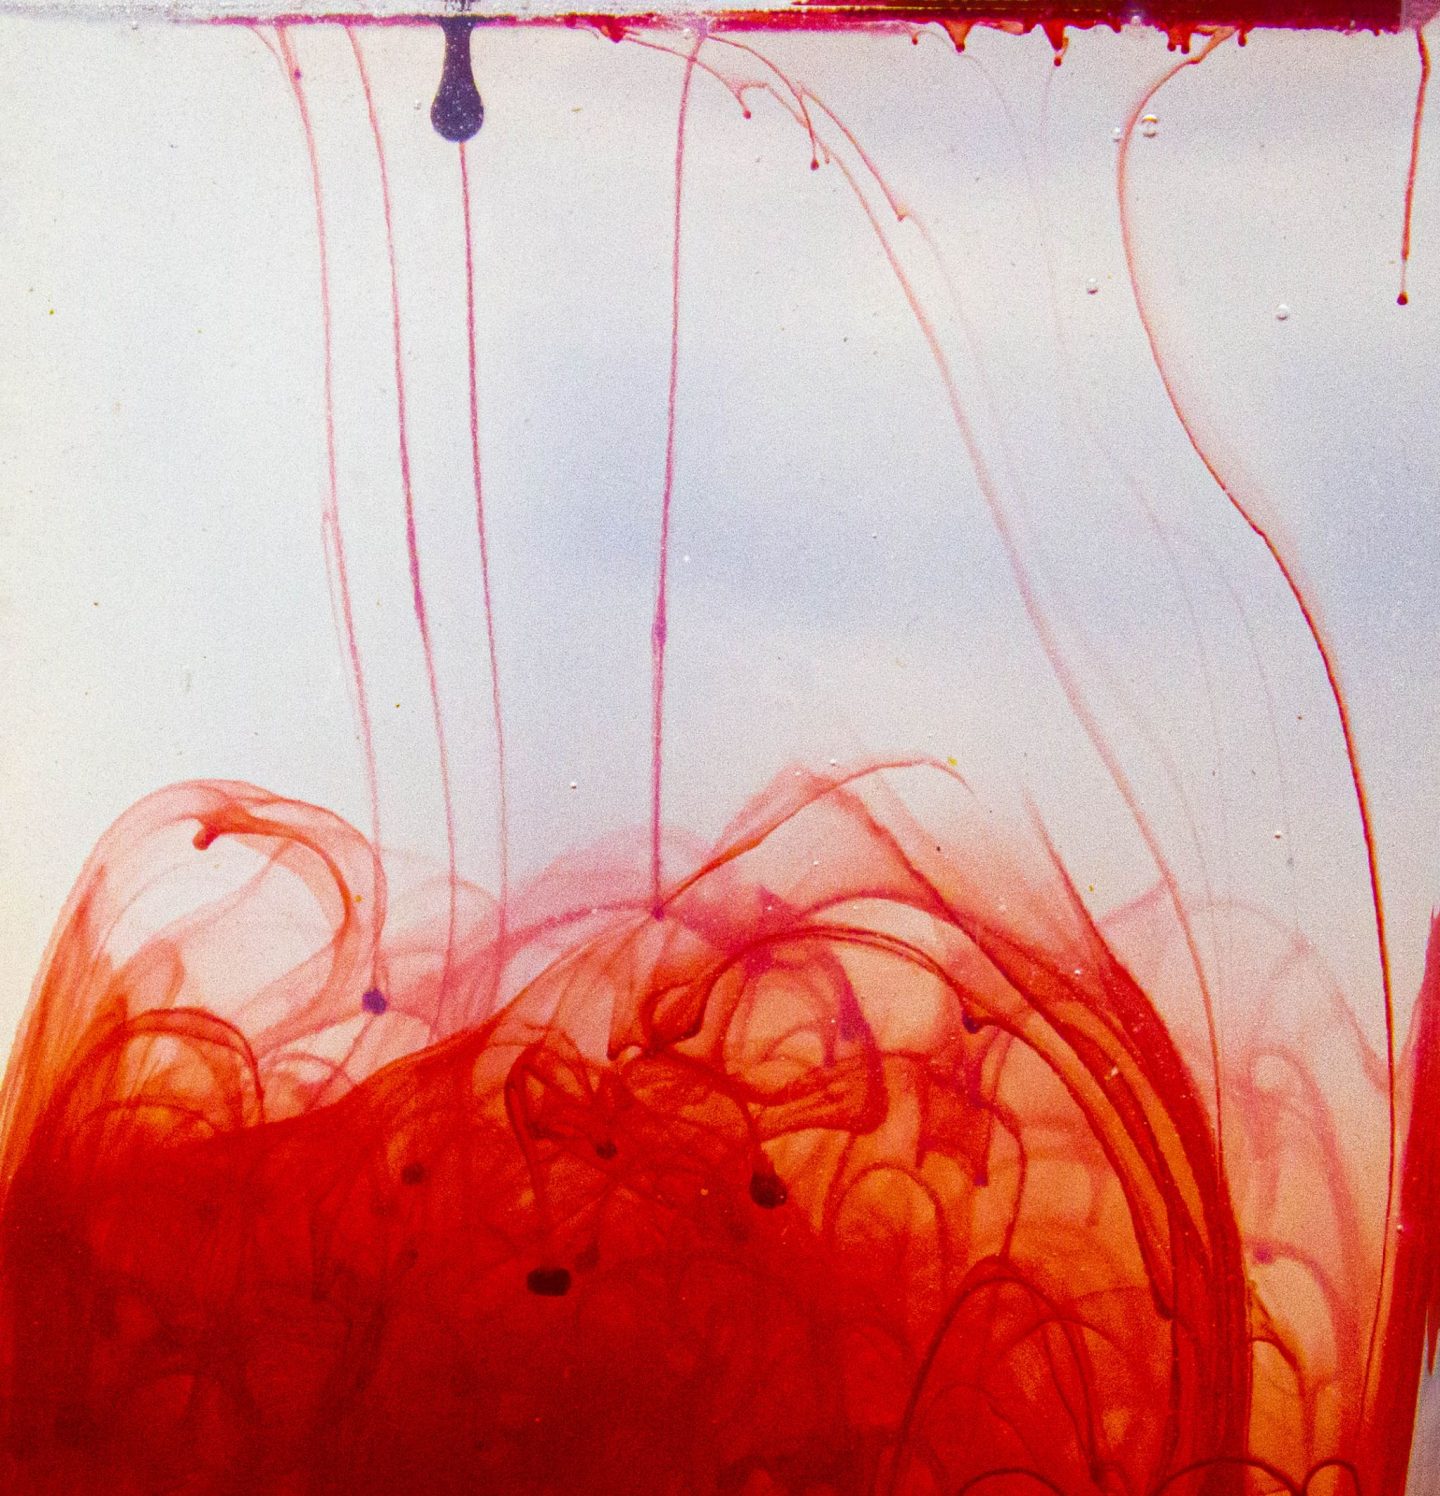
As I said above, I was purposefully keeping this very simple. I am fond of the resulting images, but with a bit more practice I think I could produce something a bit more complex and impressive. Considering my level of experience of taking liquid flow images, I am happy with the result.
I would also encourage you to take a look at this photography tutorial which I produced a few months ago. I used a syringe to fire a shot of food colouring into a Champagne flute and it relied on similar techniques.
I’d love to know what you think of the pictures. Please do leave me a comment below or let me know on my social channels where I can be found as @dadbloguk.