Have you ever made a Easter egg? No? Until yesterday I hadn’t either. Having done it I can tell you it is remarkably easy, if a little fiddly in places.
The challenge to make some eggs was set by those lovely people at specialist Devon holiday website stayindevon.co.uk. The team kindly sent us a Choc on Choc Easter Egg making kit with moulds and instructions for creating two small eggs. The kit had to be hidden away from small, prying hands for a week or so until we had the time to make them but when we got to work, we had great fun.
Here is a photographic record of our attempt to create these eggs.
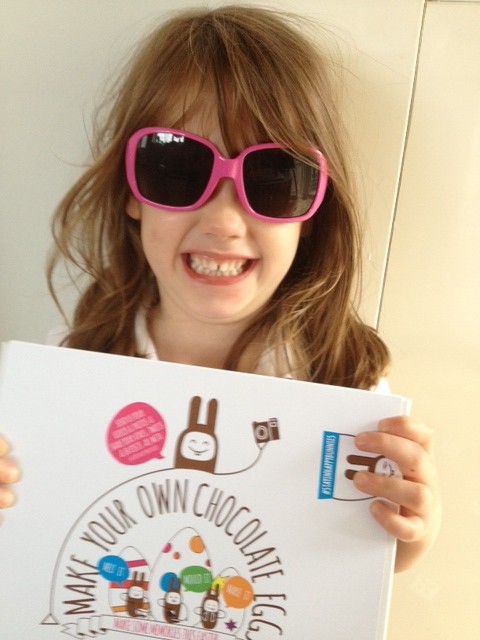 I took one excited child who happened to be wearing sunglasses and gave her an Easter egg making kit. The excitement levels were quite high at this point.
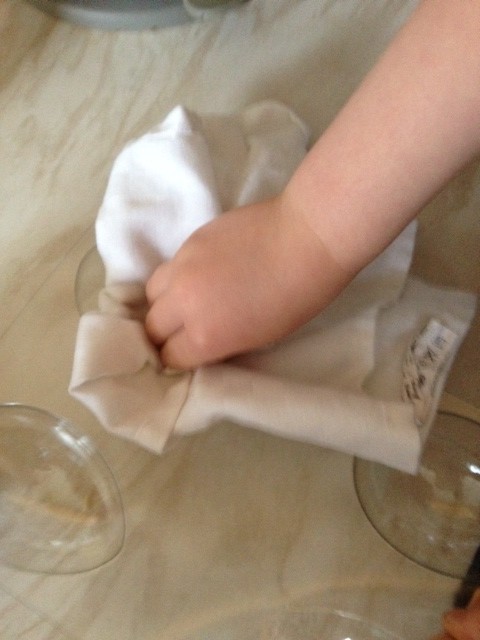 The first step was to wipe the eggs’ moulds with vegetable oil. This stops the chocolate sticking to the mould and gives the final product a nice shine.
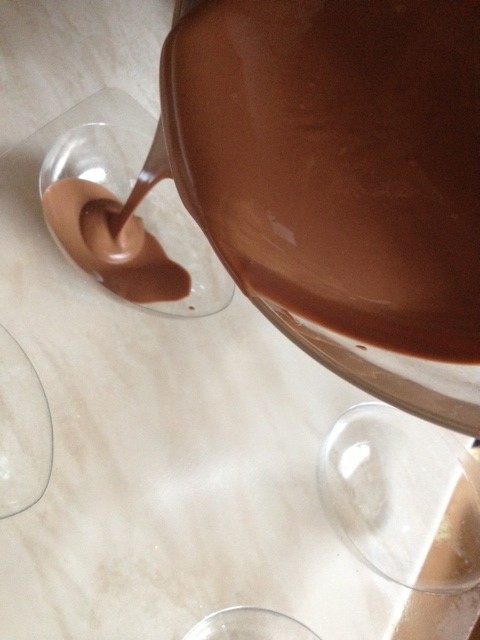 Having melted the chocolate, it was poured into the moulds (I did this bit because the chocolate was very hot). The should have been straightfoward, but I messed it up. You’re supposed to swill the chocolate around in the mould and add new layers after 10 or so minutes.
I was still swilling chocolate around an hour later. I eventually figured out that I’d allowed the chocolate to get too hot and so it was far too runny. After much trial and error, I let the chocolate cool down a bit before pouring into the moulds. I found this worked much better.
 Once the moulds had been filled with melted chocolate, they were left to cool. After they had hardened, the rather brutal job of sticking the two halves together could then get underway. This was another job for dad because it involved heating up a baking sheet, placing the two halves on it so the edges melted and then sticking them together.
You’ll note the marble effect on the chocolate. We managed to get rid of this at the very end by wiping the eggs down with a drop of vegetable oil.
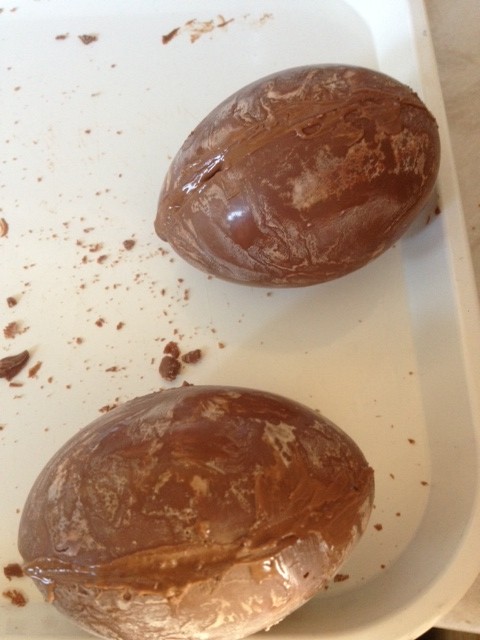 Here are the two eggs having been joined together, You’ll see the edges look a little untidy. The finished product looked quite a bit smarter as we ran the blunt edge of a knife over the edges.
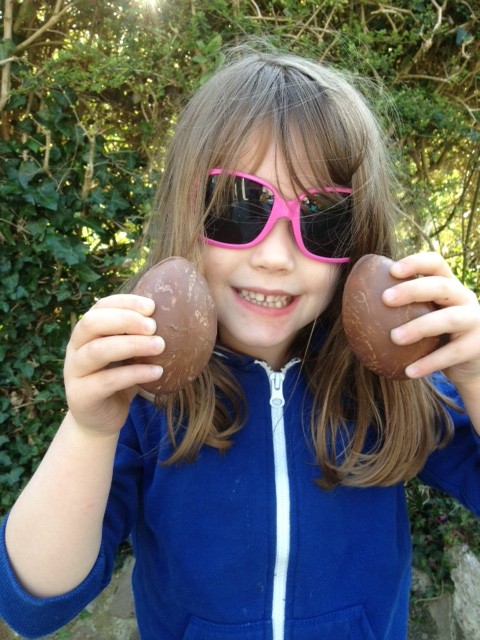 Here we are with the finished products. I have to say they are far superior to anything you can buy in a shop. The chocolate is of a higher quality and the eggs are really thick.
It was straightforward, fun and not particularly messy. My daughter thoroughly enjoyed making the eggs while I learned how the two halves are stuck together, something I’d been wondering about since I was a boy!


3 thoughts on “Making Easter eggs #stayinhappybunnies”
This post is great and made me laugh! Those Easter egg makin kits look like a lot of fun and the photo of your daughter holding the kit with her sunglasses on? Yeah, she look ready to combust, lol.
The eggs looked great when finished and I bet they got eaten pretty swiftly after that photo too, lol. Thanks so much for linking up #madmidweekbloghop
Looks like fun. My mum had an egg mould when we were kids. Haven’t tried since then. #MMWBH
Maybe now’s the time to get your hands on that mould! Thanks for commenting.