My daughter and I have made another House of Experiments video! It’s probably my favourite yet; a balloon and CD hovercraft.
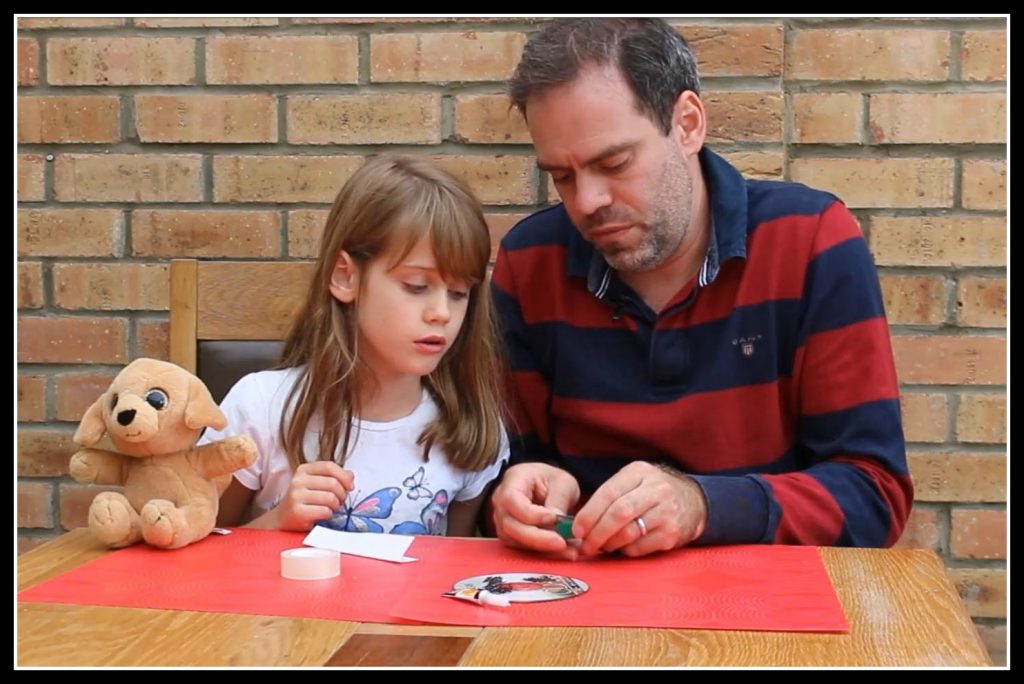
It’s incredibly easy to make. If you want to want to watch the video, click play below. If you would like written instructions, scroll down.
This is a really simple experiment. That said, you have to use glue and some kind of sharp implement so it should be done under adult supervision.
How does this experiment work?
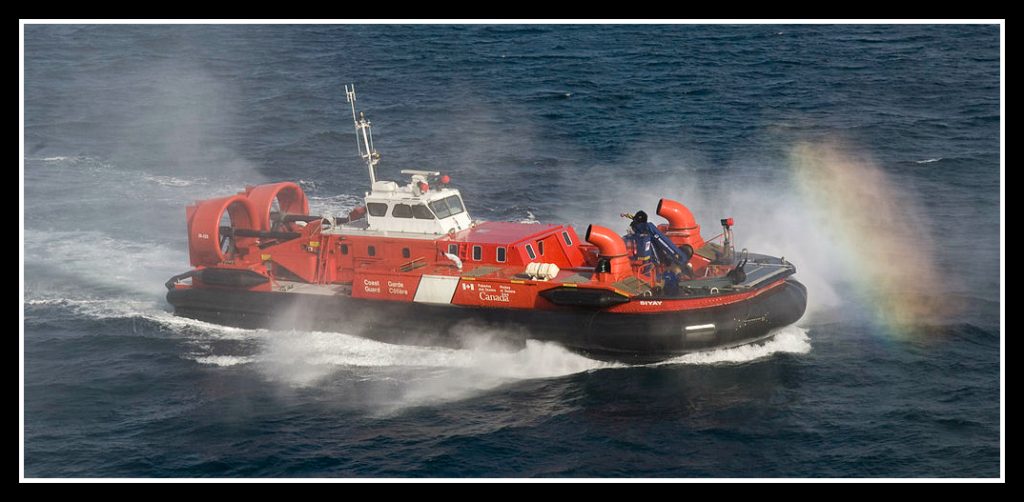
A hovercraft works by creating a cushion of air. This ‘air cushion’ reduces the friction between it and the surface underneath so it can move easily. You can replicate this effect using a CD and balloon and it’s a lot of fun.
What you will need
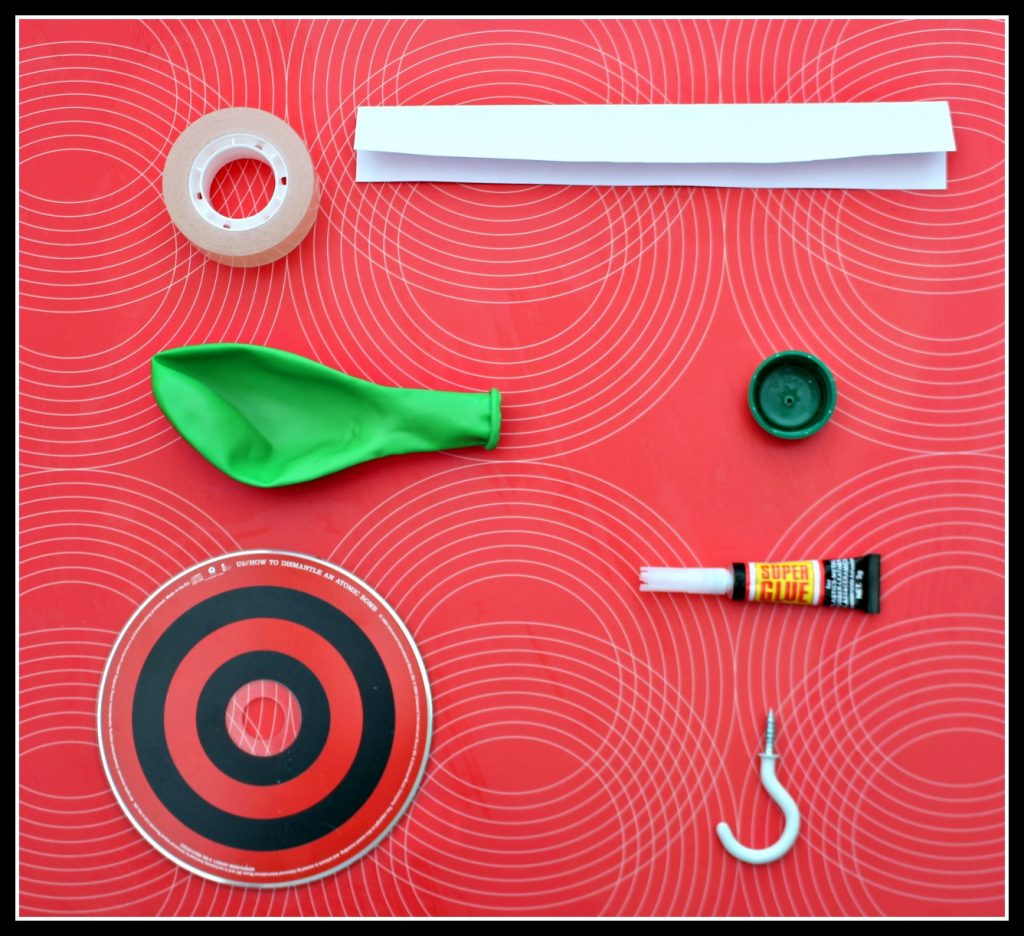
- A CD (don’t choose anything good, you won’t be getting it back!)
- A balloon
- A small plastic bottle top
- Something to make a circular hole in the bottle top (I used a hook with a screw thread but anything that will make a clean, small, circular hole will suffice)
- Super glue
- A strip of paper about 10 cm in length
- Sticky tape
How you make the hovercraft
- Using your sharp implement, make a hole in the centre of the bottle top
- Apply glue to the flat edge of the bottle top and glue it to the CD (you may have to wait for the glue to dry before continuing)
- When the glue is dry, stretch the balloon over the bottle top
- Using the paper and sticky tape, make a collar to go around the bottom of the balloon
How to make the hovercraft work
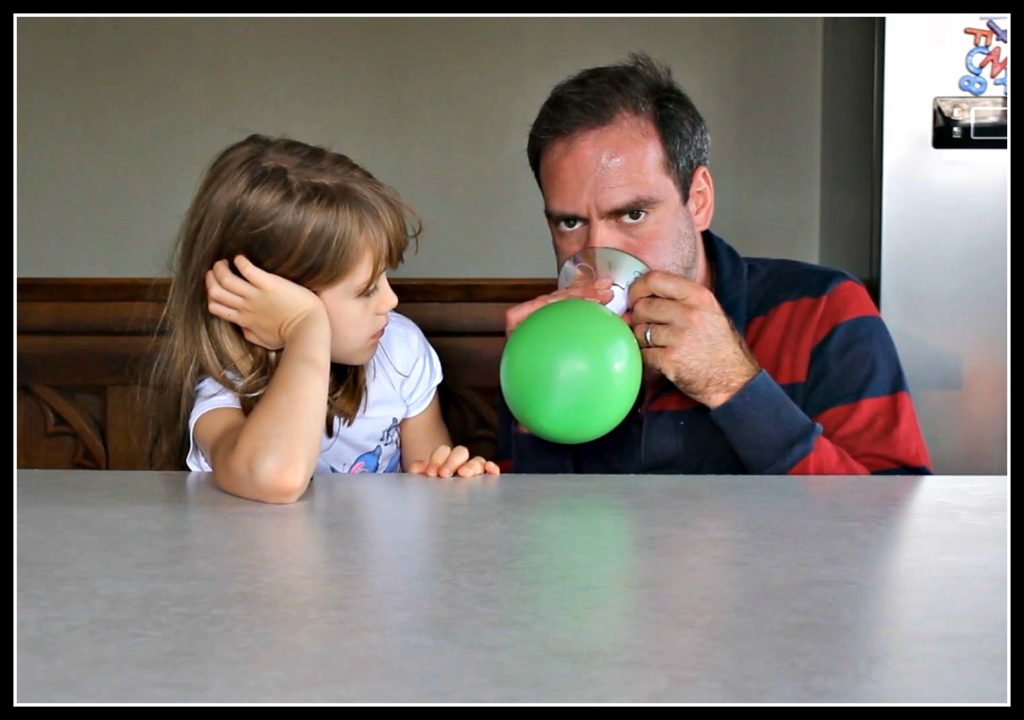
Blow up the balloon through the hole in the bottle top. You can, if you prefer, take the balloon off the bottle top to blow it up. Through trial and error, however, I have found this to be more difficult.
Once inflated, place the flat side of the CD on a smooth, hard surface and let go. The hovercraft should race off! If the hovercraft doesn’t move, just give it a tiny nudge. This should be enough to get it going.
Please note, it will need to be a smooth, hard surface as the hovercraft needs to lift itself up to work. If you place it on carpet or something soft, the air will simply escape into the fibres.
In case you were wondering, the paper collar regulates the air flow. It is not essential, but without it, the balloon will flap around and this affects the hovercraft’s performance.
Congratulations!
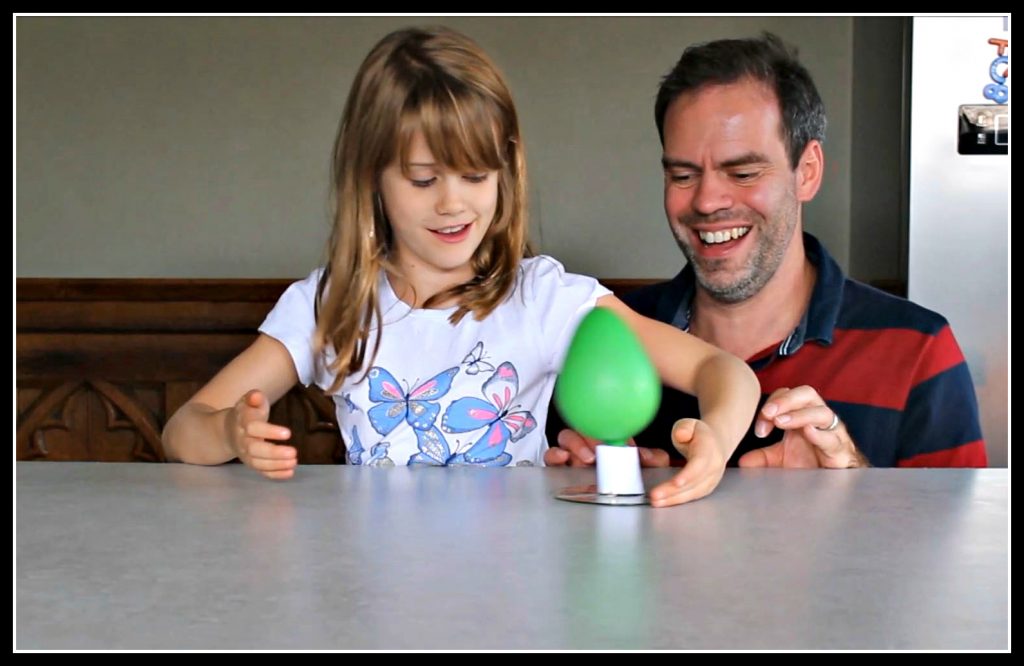
What you have done is replicated the workings of a hovercraft. Hopefully you have enjoyed that experiment and are keen to do more.
If you successfully carry out the experiment at home, please do leave a comment below. We’d love to know how you get on.
A little reminder…
This is the fifth in a series of videos we are making. My eldest daughter Helen came up with the idea of making regular science videos that can be replicated at home
Our aim is to produce them weekly and we have a playlist on YouTube called House of Experiments. Please do take a look and try out the experiments yourself.




3 thoughts on “Making a balloon and CD hovercraft #HouseofExperiments”
Brilliant idea, educational and fab to watch and read about!
Glad you liked it Vicki. It was a really un experiment and my kids really enjoyed it.
Pingback: Vinegar and baking powder CO2 trick #HouseOfExperiments - Dad Blog UK